Turn the Glasses Over – Playing with Form!
 I love teaching this fun little folk song, “I’ve been to Harlem” a.k.a. “Turn the Glasses Over,” to my students! I learned the basic version of the song at my Orff Level 1 training a few years ago and have been playing with how to teach the lesson ever since. This year I was all set to teach my students folk song and something happened to mess up the start of the lesson. I think I had a behavior issue to take care of or had to move someone’s seat in the seating chart. Whatever it was, it threw off the flow of the lesson. I had to improvise to get back on track and this version of the lesson developed. I wanted to share with you because I think it shows the versatility of the folk song and a little bit of the Orff approach in the teaching of the song and its multiple parts. You’ll see us playing with form, student choice, and the infinite possibilities that we had to make the song our own.
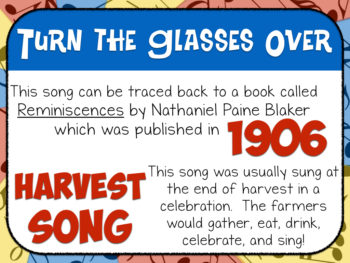
Here’s just a little context to the song and why I teach it during this time of year. “Turn the Glasses Over” is quite an old song and was usually sung around harvest time in Europe. Farmers would get together after their long days/weeks of harvesting the crops would drink and be merry and sing this song. What a perfect song for October/November and harvest time!
 It’s an easy connection for kids to make. Now, “Turn the Glasses Over” was typically an end of season “merriment” and “drinking” song. In fact those farmers would get so “merry” that some of the original lyrics need to be modified to make the song appropriate to sing with our kids. The traditional line in the song goes “Drink all the Brandywine and turn the glasses over.” Just sub out “lemonade” for “brandywine” (“Drink all the lemonade and turn the glasses over”) or do something like this “drink all you want to drink and turn the glasses over.” Easy fix! Also, you could totally pull in a “sailing” or “Sailor” theme for this song since it definitely talks about travel over the ocean. Harvest song or sailing song, you decide. Both work as themes in this song!
Section A – “I’ve Been to Harlem”
This first part of the song was easy and I taught it by rote with corny little actions that I made up on the fly. The process I used was a very “Orffy” thing to do when you teach a song and follows how many Orff trained teachers teach a song for the first time. Here’s how it worked.First, sing the whole passage as an example (m. 1-8) without expectation that students sing back. This gives them a handle on the whole section and lets them hear everything they’re going to learn. Then sing a short phrase (measures 1-4) letting students echo sing the phrase. After that sing the next phrase (m. 5-8) and have students echo back. Finally sing the longer phrase (m. 1-8) and have them echo the whole thing. Don’t go on until you know that they know the whole phrase or else it will become difficult for them later.
Label with Letters – Talking About Form
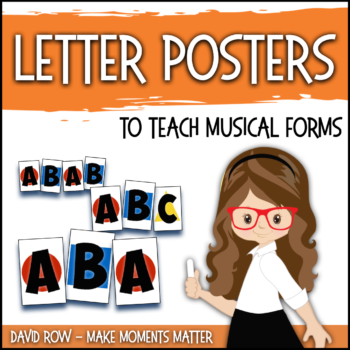 So, after we learned the first part of the song I moved on and said something like “Great! you learned the first part of the song. Let’s call this first part “A” and any time we sing this much of the song we’ll say that we’re singing the “A” section. Then I pulled out my handy-dandy form cards and stuck a big “A” up on the white board so that students could visualize and remember that first part of the song.Side note, if you want a copy of the form letters that I use when I teach the song you can get them here for FREE! Whenever I teach a song’s form using letters for the different sections (ABA, AB, ABACA, etc) I pull out these cards. I made the cards/letters to fit a half sheet of paper/cardstock, laminated, and attached velcro to the back. Then I added one long strip of velcro to the top of my whiteboard right under the top tack strip. Now, any time we identify form we put the letters up there as we go as a reminder and to help us identify. I don’t know why I haven’t ALWAYS done something like this. It’s such a great help!
I use the half sheet letters when I identify with students and they’re the perfect size to print and post on the white board. In this freebie file I’ve also added full page versions (one letter per page) so that you can make examples to hold up that are larger AND I’ve made smaller versions (8 letters to a page) so that you can print out and hand out to student allowing them to work on the form in their own space if they want. They’re FREE on my TPT store. Check them out HERE.
Section B – The Clapping Game
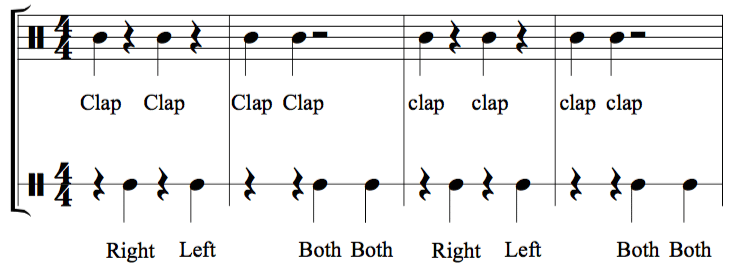
Clap, Clap, Both hands out, both hands out
(Repeat)
Clap, Clap, Both hand parter, both hands partner
(Repeat)
Section C – “Sailing East, Sailing West”
They learned this part pretty quickly and we were able to sing it through together. Any time a teach a new section of the song I go through the “chunking” process first to teach the song and then we sing it together a few times so that I can check to make sure they really know it. Often I’ll sit down at the piano for the last couple times so that they can hear it with accompaniment and so that I can check if they know the actions and words well enough to go on. My piano accompaniment is by no means fancy… think “Boom Chuck” on an F major progression.Before we move on we have the discussion about whether this is another “A” section (they can tell that it’s not) or if it’s different. We decide it’s different, call it “C” and and put that letter up on the board to identify this section of the song.
First Time Form “ABC” – Putting It Together
So then I took a look at the form letters on the board and mentioned that we’d put together a nice little form “ABC” and that we could try and do it all together. At this point they were ready to try the whole thing and so we stood, sang the A section, clapped the B with partners, and then sang the C part. They loved it, they got it, they were ready for something new.
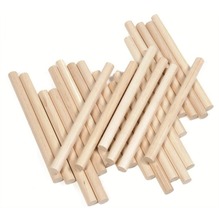 So then I said, “Let’s make the B section a little more interesting!” I had just got in a box full of new Lummi sticks from West Music that I was dying to try out! Many of you know that I moved to a new school this year and that we’re pretty desperate for good supplies. We didn’t even have enough rhythm sticks for a whole class set! Talk about not even having the basics! I’ve set up a few DonorsChoose.org projects and this first one with rhythm sticks, wood blocks, and a couple other goodies has already been completed! I know there are some readers out there who have donated even a couple bucks to these projects. Thanks so much! We have rhythm sticks because of you! If you’d like to see the next project that I’ve set up for our school, click here! Even $2 or $5 is a big help!
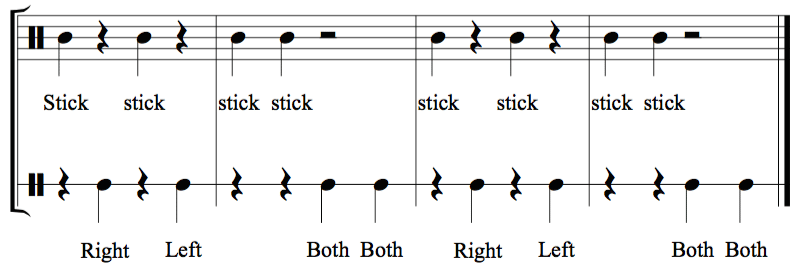
So, we grabbed some lummi sticks and we changed the “B” section pattern so that instead of “clapping and patting” with a partner we clicked our own sticks together, clicked our right stick against our partner’s right stick, clicked our own sticks together again, clicked our left stick with our partner’s left stick, and so on. It’s like a little clapping game turned stick clicking game. The motions transferred pretty easily and the kids had to modify a little so they didn’t hit their partner with a stick. I gave them a second or two to figure it all out and we were on our way!
Playing with Form – A New Pattern
Section D – The Big Switcheroo
I decided to throw in one more element into the song. I told them that we were going to add a “D” section to our song. There wasn’t singing in this part and there wasn’t clapping or clicking. On the D section you’d hear this music (I played a little improv melody in F major on the piano) and that meant that you had to walk and find a new partner by the end of the music. They loved getting to shuffle around a little bit and we walked through the section once so that they got an idea of how it would work before we actually put it into the song.Then we created this pattern: ABAC D ABC. We played with the pattern a few more times and I let students come up and play around the letters and the form so that they could come up with the order that they wanted. After a few more variations of the form we called it quits for the day.
I loved how this lesson turned out because the students got a really clear view of the different ways we could chunk up the song, saw how we could vary what we were doing (clapping or using sticks for the B section pretty interchangeably), and got an easy and understandable little lesson on form and variation as we moved letters around into whatever patterns we wanted.
Next Steps – Day Two
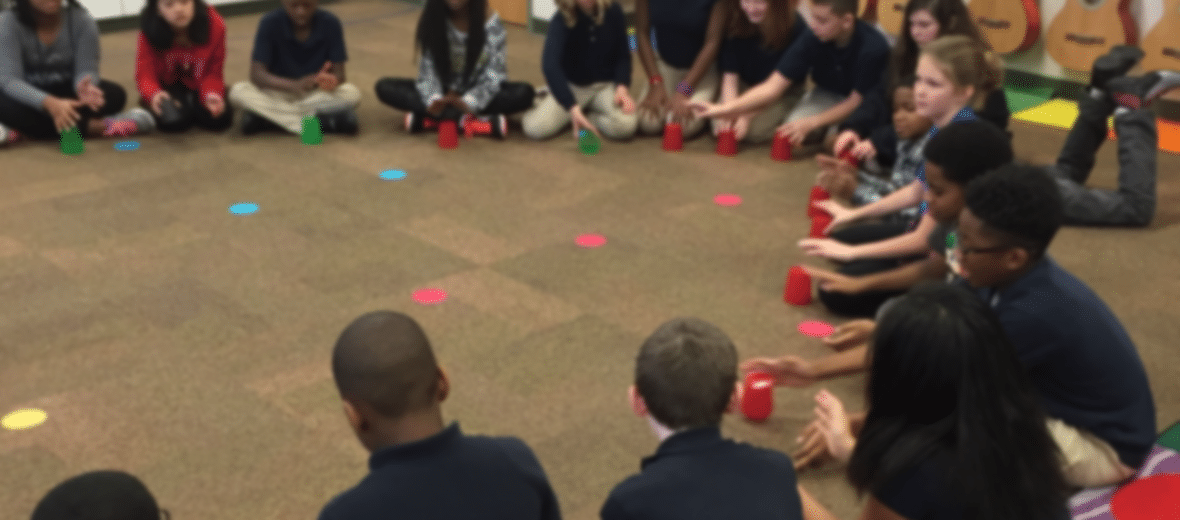
I spent a lot of time on this first day playing with the form and doing things with rhythm so that the NEXT time we came back to the song we could add in the “cup game.” I wanted them to get a really firm foundation and grip on how the song went before we added in something as complex and focus-driven as that. However, I like taking a day to add the “cup game” because the lyrics of this song actually talk about “turning the glasses over” and the phrases line up so that you can pretty easily do the “cup pattern” as you sing. And good lord do they love doing the cups to this song… they’ll be requesting it for months.
 This is one of my favorite songs to do with kids because they learn it easily, it’s perfectly timed for harvest season (if you talk with them about the historical component and contextual factors), it’s awesome to use when teaching form, and it has the capability to add in the “cup song.”Seriously, it’s a favorite. AND you can totally do a fun little folk dance (including an easy little promenade) with the song. If you’d like all the historical resources, background, and supporting materials then check out this “Favorite Folk Song” Set that I made for the song. Included in the set is a PowerPoint file to project on the whiteboard as you teach the song as well as slides to print off and post out in the hallway on a bulletin board for the kids to look at any time they walk by the music room. Click here or on the image above to see everything that’s included!





9 Comments