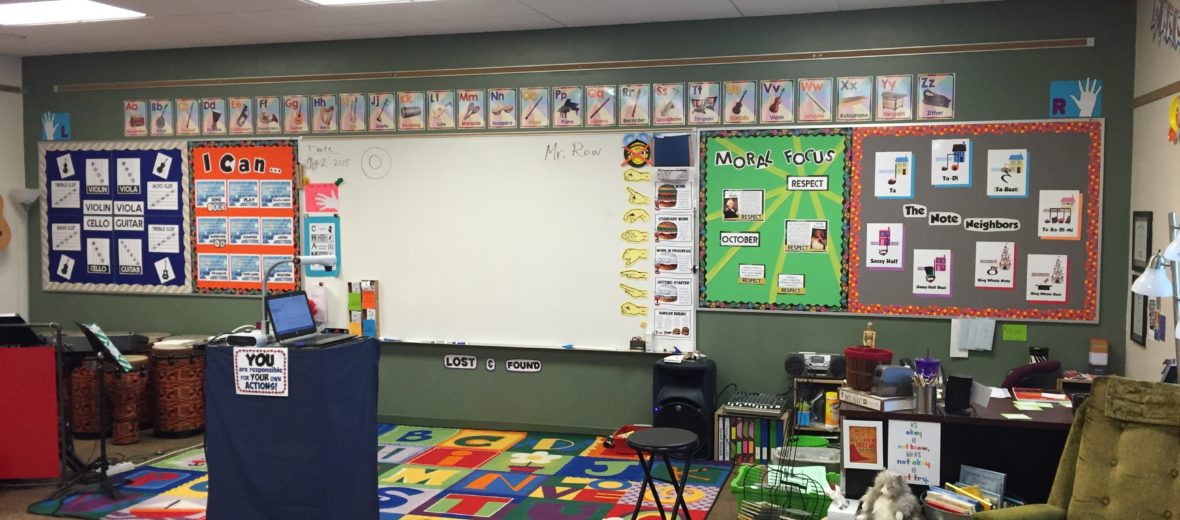
Music Room Makeover! Room Tour 2015
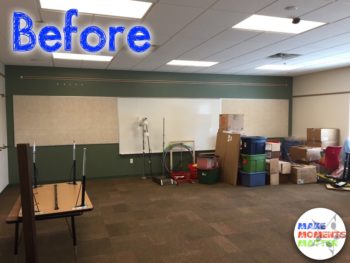
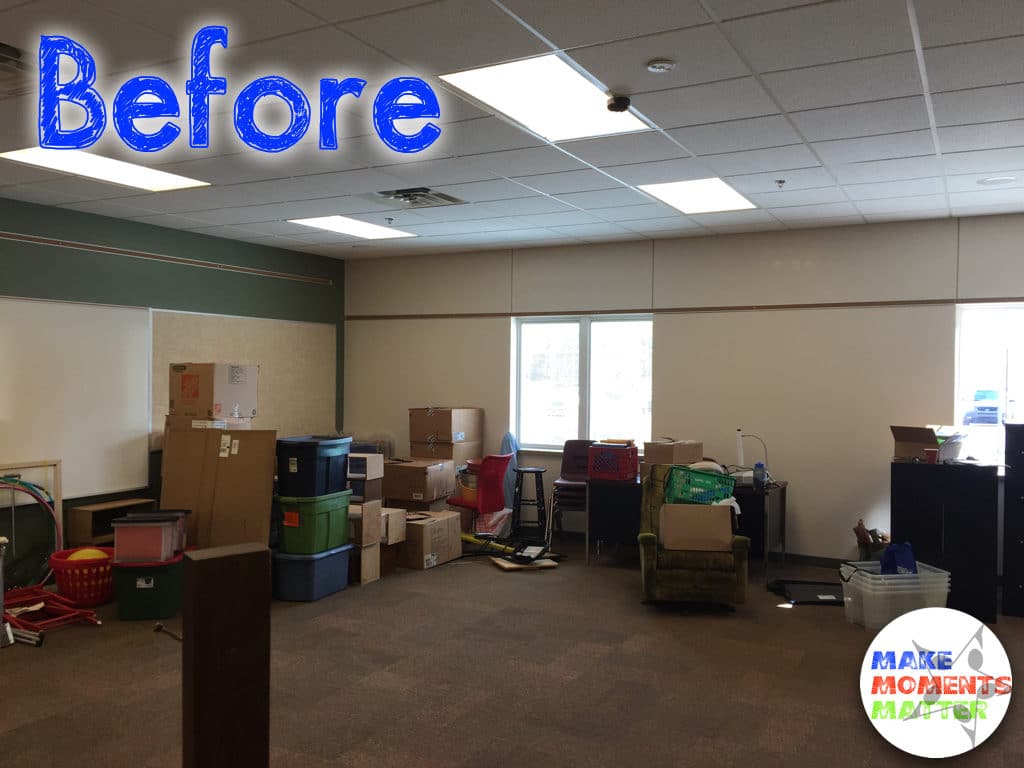
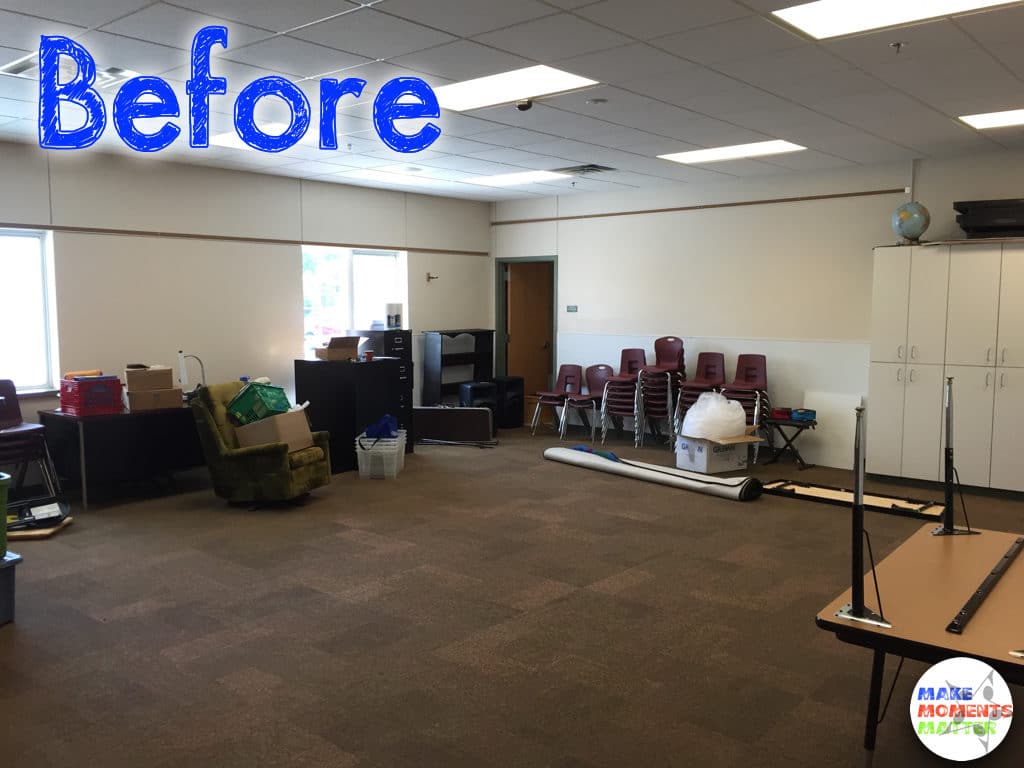
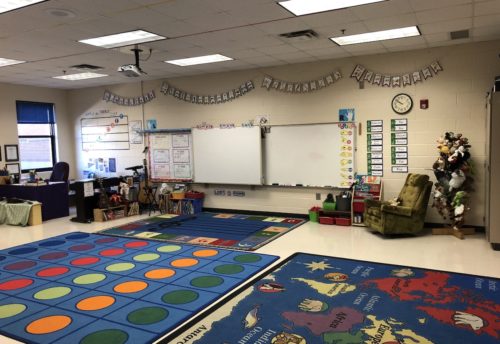
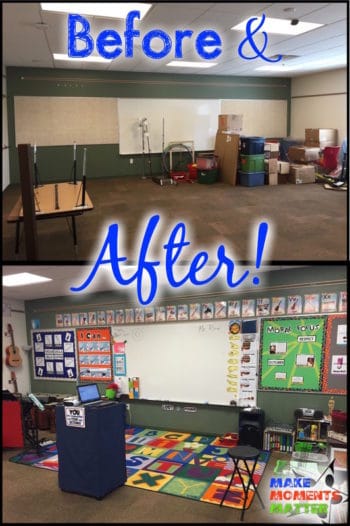 I’ll just start by saying that I don’t think my classroom will ever truly be finished. There’s always something to add, alter, improve, eliminate, decorate, or switch out. This summer I moved from Kansas City to Lansing, Michigan and that means that EVERYTHING I had was boxed up and schlepped across hundreds of miles. It feels like there are an infinite amount of possibilities as I think about how to decorate my music classroom… Starting in a new classroom is a lot of fun, but it’s been a lot of work as well because the space really needed a music room makeover!
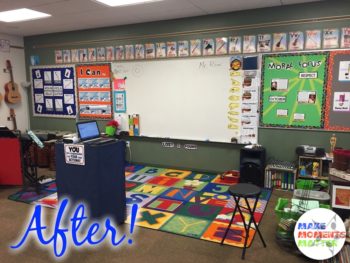
I am really excited about some of the big progress that’s happened in my room so far and I wanted to share with you! I’ll add in some explanations with the “before and after” pictures so you can try and understand my thought process of what I put up and why. Along the way just click any picture that you want to enlarge.
Front of the Room
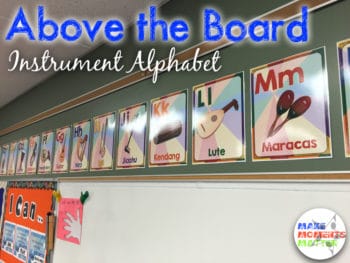 Instrument Alphabet– I’ve wanted to do this for YEARS! In many K-5 classrooms it’s totally standard to have the alphabet right above the white board as a reference. Why not connect with those other teachers and make a “Musical Alphabet” to put up above the whiteboard in the music room?! I did some research and found 3 or 4 instruments for each letter along with real pictures of that instrument (not clip art). It’s been so fun to see kids look up and ask about the “oboe” or the “baritone” and countless other instruments.
The instrument alphabet is also great because sometimes I’ll dismiss kids with “if your name starts with the letter ‘a’ you can line up.” This visual ensures that I don’t lose my place from A-Z even if I’m having a conversation with a student as we’re lining up. I had one teacher tell me that they printed the posters as small cards, laminated them, and put them on a ring for a student to reference throughout the day. This student really loves the instruments and the colorful pictures appealed to them. I would have never thought of that use, but I love it! I might make several of those and put them in centers! Get the instrument alphabet set HERE.
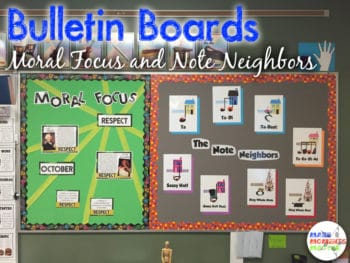 Moral Focus- Every month my school focuses on a different character trait or “moral focus.” I created this set of posters to display every month to help reinforce the new character trait. The set highlights nine different character traits and gives two examples of famous musicians (one “classical” and one contemporary) for each value. We’ve already had “Wisdom” for September and now “Respect” for October. Yet to come is Gratitude, Self-control, Perseverance, Courage, Encouragement, Compassion, and Integrity. I love that I can show the pictures and tell a story about a classical and a contemporary musician who exhibit the character trait. This month, Haydn and Aretha Franklin help to explain the concept of (you guessed it) R-E-S-P-E-C-T! When reading through the posters with kids I get to reinforce the moral focus trait AND I get to sneak in a little musical history and music listening. Get the Moral Trait Year-long bulletin board set HERE.
Note Neighborhood- The Note Neighborhood is the system I use to teach my students rhythms. I realized early on that my students were having trouble learning and internalizing all the notes and the note values. I’m the kind of person who love to learn through telling a story so I started to develop little stories and characters for each of the note. For instance, why does the half note get two beats? Well, the “Sassy Half” gets two beats because she has such a big personality and is so sassy. She snaps her fingers and waves her arm and takes up two spaces.
I created a set of powerpoints, flashcards, and supplementary materials to help reinforce the various notes and the kids went wild over it. Each new note has a back story, funny voice, or history. I use the Ta-ka-di-mi note system but I also made all the PowerPoints in the “tika-tika” system as well. The kids ask all the time, “are we going to the Neighborhood today?” I love that kids love the notes because of the Note Neighbors! To learn more about the Note Neighbors, click HERE. OR you can also download one of the Note Neighbor PowerPoint files and check out exactly what’s involved. Get the FREE starter PowerPoint and see what it’s all about HERE.
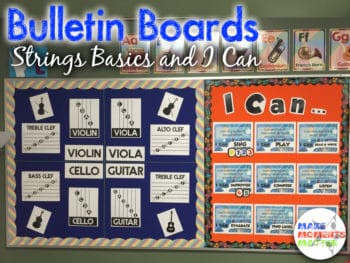 Strings things- Along with teaching K-5 general music at my new school I also teach beginning orchestra, advanced orchestra, and two sections of guitar methods. There’s a lot of information for a non-strings person like me to remember. And so this bulletin board set is as much for me as it is for the kids. I added a poster with the strings for each instrument as well as the clef/notes that they read. It’s already been one of the most helpful reference bulletin boards I’ve made for the room. As I said, I’m not a strings person, so while I can absolutely figure out alto clef it doesn’t come automatically yet. The posters help to make that information readily available for reference.
I Can Statements- What room would be complete without an “I Can” board? 😀 The I Can Posters are intended to help each student understand the point of every lesson and know what skills they should be able to do at the completion of that lesson/unit. The statements follow the older National Music Standards (Thanks NAfME!) and the numbers move around to match the standard we’re working on. Numbers K-5 are color coded to match the Silver-Burdett “Making Music” book series. You can get the I Can Bulletin Board set for FREE at this link.
Right Side of the Room
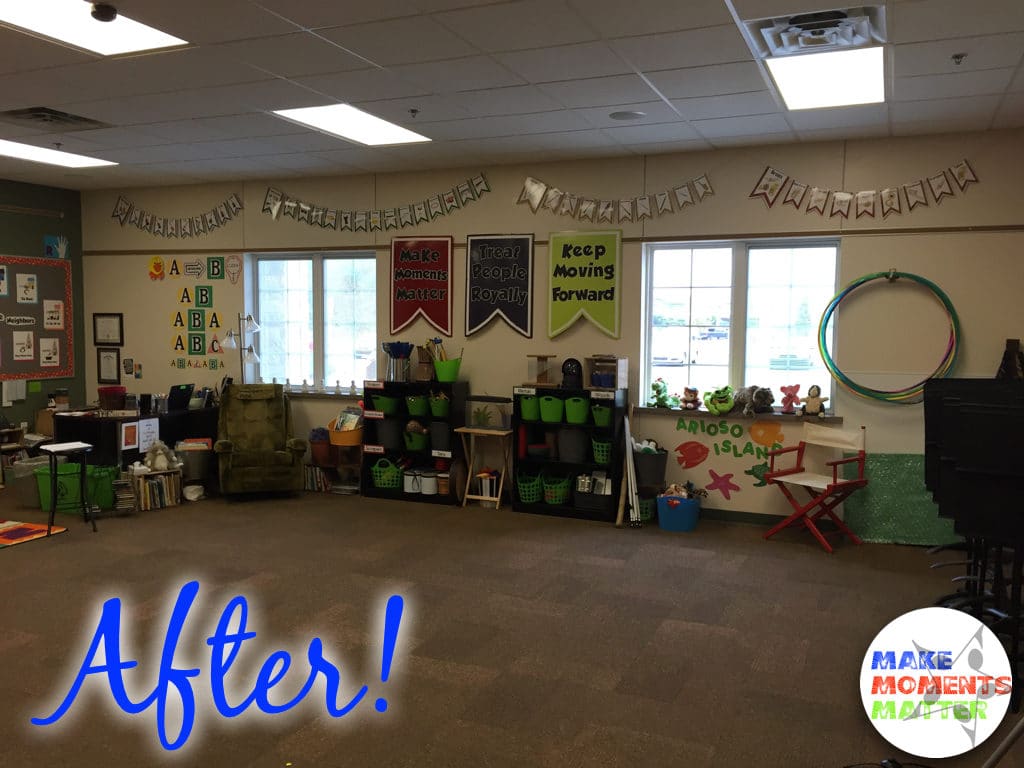
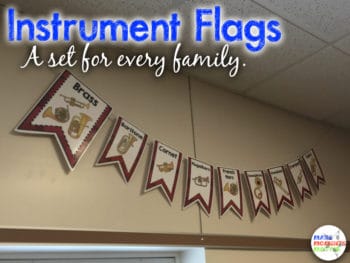 Instrument Flags- I developed these in the early spring of last year but wasn’t able to print them out and use them in my classroom until this fall. I LOVE how they turned out. They add so much color and fun to the room and I actually reference them all the time. Of course they’re color coded to match the big instrument posters I have elsewhere and the instruments are strung up in alphabetical order. I’m a little nutty and OCD when it comes to display like that.
The instrument flags are great when we talk about instrument families so that students can see similar instruments together and make connections between the various families. I included these into my Classroom Decor Sets (because I think every classroom should have them!) but also have them as a stand along item in my TPT store if you’re interested. You can get the instrument flags HERE.
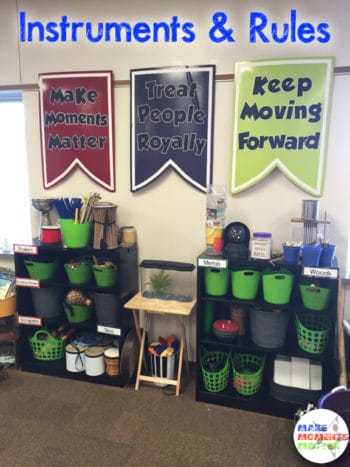 Instrument Storage and Classroom Rules- Cleaning up this space really helped the music room makeover take shape as it added some organization and clarity. My school colors are lime green, orange, blue, and grey so of course I had to get these buckets/containers at the Dollar Tree in the exact perfect shade of lime green. Love them! They’re actually really great for storing and separating small nonpitched percussion instruments like wood blocks, jingle bells, castanets, etc. I’ll need to get something a little heftier when we acquire more instruments, but for now these Dollar Tree finds are perfect!
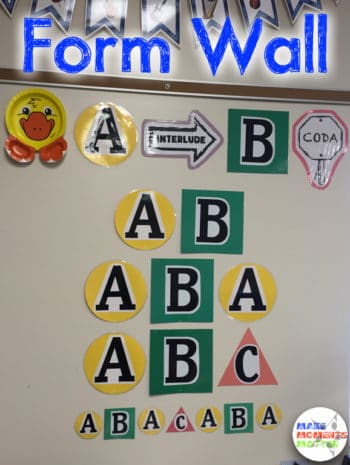 Form Wall- I talk so much about form with kids and reference it so often that I just took some of the more basic forms and stuck them up on the wall. This is a great reference point any time we talk about form or are deciding what form to use as we create music together. There’s nothing special to these form posters, I just printed out the letters and stuck them on shapes that I had made out of construction paper.
The duck at the beginning is for the “intro-DUCKtion,” an idea that I stole from my amazing student teaching cooperating teacher, Debbie Gray. If you want the form letters but don’t want all the work of going into Microsoft Word to print the letters and cutting out construction paper you can get this form letter FREEBIE from me. Just print out, laminate, and you’re done!
Back of the Room
Cabinets/Word Wall
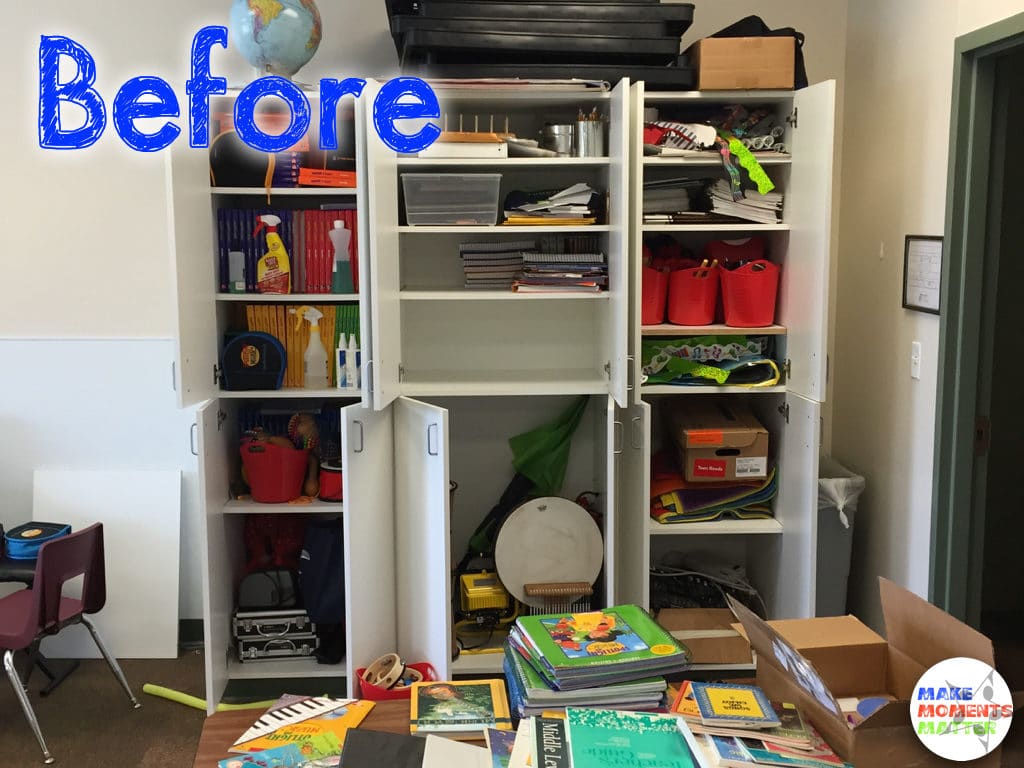
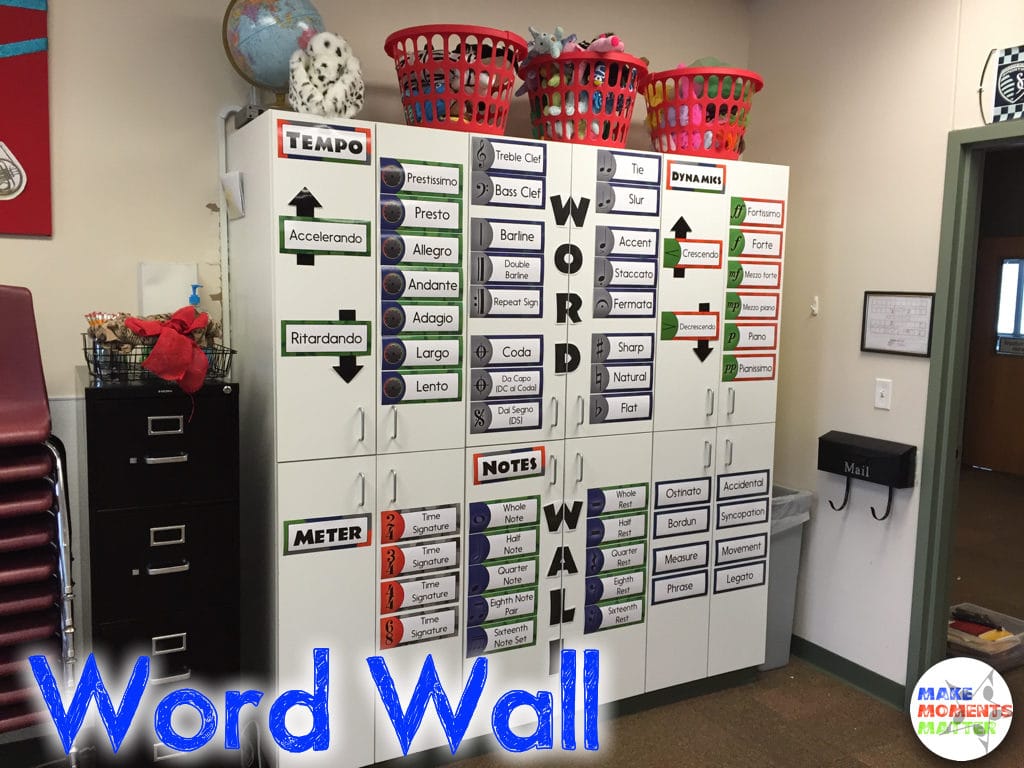
These big white cabinets are right next to the front door and they’re rather large (which is great for storage). However, I was annoyed by how blank and boring they were on the outside. What a waste of space! It’s also annoying because I have such little usable, low space in my room. By that I mean that It’s hard to put displays low at a kid’s eye level. Everything has to be high to be above a window, above the instrument shelving, above the stack of chairs, etc. I also really didn’t have room for a word wall… because there’s just not enough wall space!
So, presto-chango! The cabinets are now a word wall. I got really lucky that the word wall cards that I created fit JUST PERFECTLY in the space for each door. It’s also nice how they printed out so that I can organize one category per door- it gives some nice separation. The only trick to this was how I had to print out the letters for “WORD WALL” and cut them down the middle. There was no other way for me to get them to fit on the cabinets because again I had run out of room… so I got creative. I printed them out, laminated, and then headed to the paper cutter. They fit wonderfully where they are and my little OCD heart just love that they add to the symmetry. You can get the word wall along with the other components of my classroom decor sets HERE.
Guitar Wall
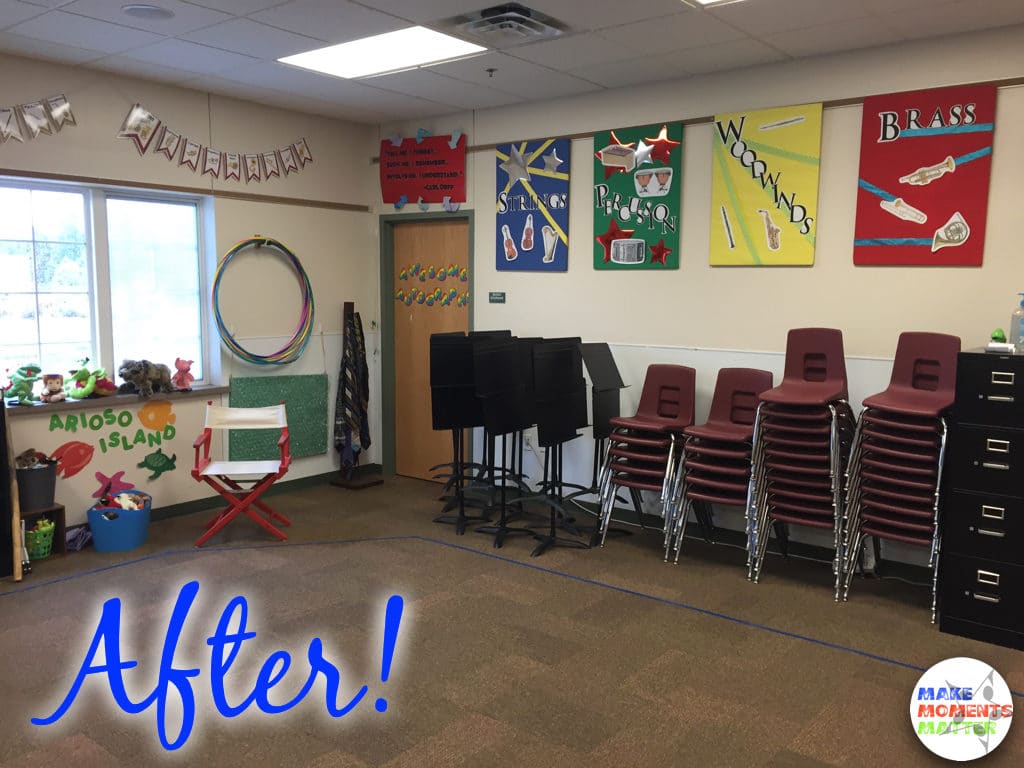
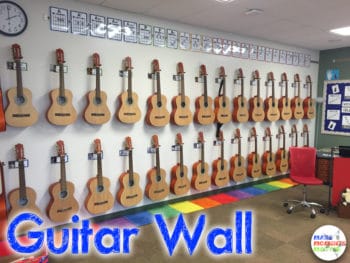 Yes, I have 30 guitars. Yes, they’re a pain to keep in tune. Yes, they were all mounted by the previous teacher. The great thing about this is that they are pretty easy to get out when it’s class time (just walk over and pull your guitar off the wall), but this also means that I don’t get to utilize this huge and amazing wall for any content. It would be a great wall for a word wall, solfege bulletin board, ANYTHING else… but sigh. It’s covered with guitars. I added the guitar chord posters above the guitars as a reference for my middle schoolers.
The colorful carpet on the floor is actually about 30 little individual carpets that I found when I inherited the room. I don’t have a great use for them yet and don’t have anywhere else to store them, so my idea was to use them to create another “do not cross” barrier. My rule for kids is “if you’re on the colorful carpet you’re too close to the guitar wall.” I created another blog post all about how I label each individual guitar (to make management easier), and some other organizational things. Read all about this wall of guitars and how I keep it organized at this blog post.
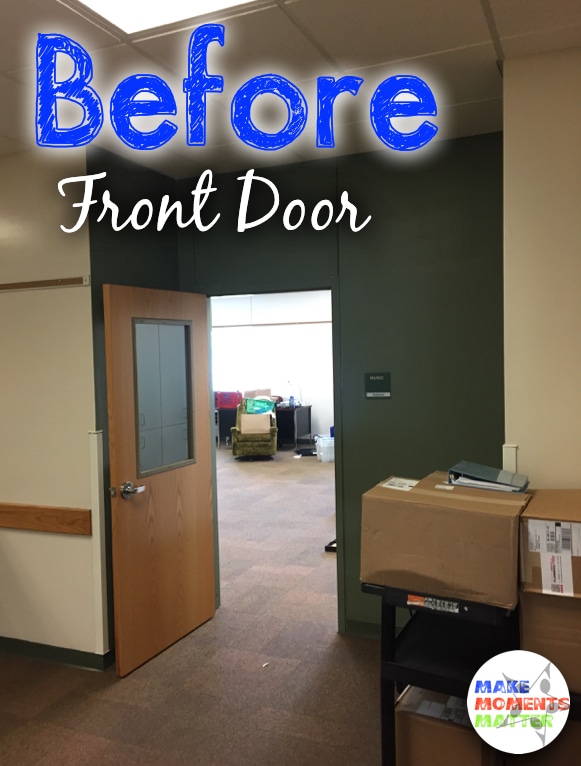
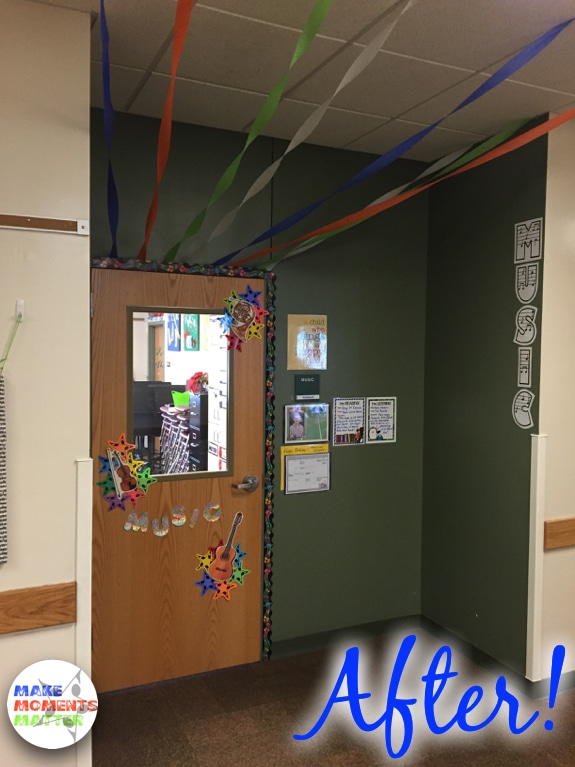
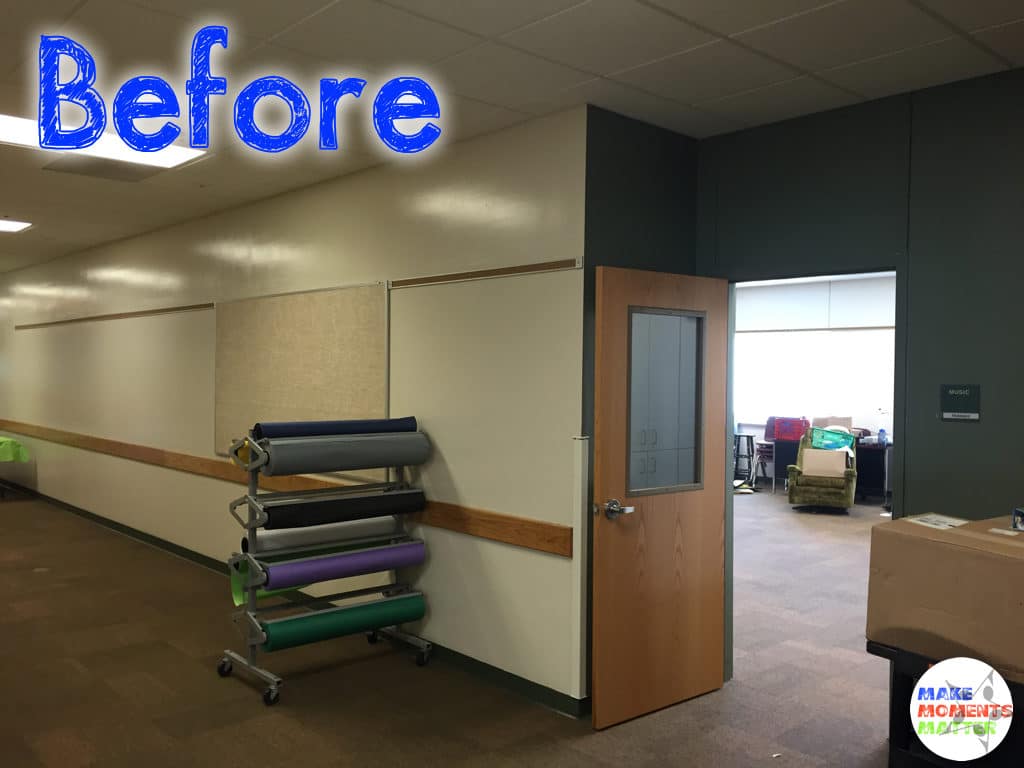
Front Door – Hallway
Pirate “I Can” Posters- To add a little more color to the hallway I added these “What ARRRRRRRRGH we doing this year” I can posters. I mean, who doesn’t love pirates. Especially pirates wielding mallets, French horns, and xylophones. My room is right across from the K-2 bathrooms and so I catch students looking at these posters EVERY day and I see their little mouths sounding out sentences like, “We arrrrrrrrrrgh going to play alone and with others.” You can get the pirate “I Can” statement set HERE.
Composer of the Month- What room would be complete without a composer of the month?! I love the composer of the month sets from Sara Bibee and have been displaying them forever! So easy to print out and customize for any month and cheap! You can look at her whole line of COTM sets HERE.
Well, I hope you enjoyed this little tour. I definitely have more to do and places to improve. Since I took these pictures I got “SitSpots” to held define the space/clarify my seating chart for kids and that has been a big addition to my classroom (look for a blog post about this later). I’ve also started to think about the next hallway bulletin board, how to tweak the arrangement that I currently have to maximize our space, and if/what I should hang from the ceiling. Lots to think about and lots to do. If you have ideas or if something you saw sparked your interest please leave a comment below! I’d love to hear from you and appreciate your comments!



Pingback: 10 Great Examples of Music Classroom Decor - Mrs. Miracle's Music Room