
Making the Most of Rhythm Sticks in Music Class
Raise your hand if you’ve ever handed out rhythm sticks, done a few echo patterns, and thought, “Well…now what?” You’re not alone. Rhythm sticks are a staple in elementary music classrooms, but they’re capable of so much more than a quick warm-up activity.
The rhythm sticks you’ll find in most elementary music classrooms are a broader category of instruments that can be plain, painted, or even ridged for scraping sounds. No matter what they’re called, they’re all fantastic tools for helping students develop rhythm, coordination, and ensemble skills.
With a little creativity, rhythm sticks become a powerful tool for teaching steady beat, rhythm, listening skills, improvisation, and musical play. Here are some of my favorite rhythm stick activities, along with a simple game called The Teacher Pattern that has students spotting rhythm patterns all over the school.
Rhythm Sticks or Lummi Sticks?
First of all, are they called “rhythm sticks” or “lummi sticks”? Is there a difference? You may see rhythm sticks labeled as Lummi sticks, and while they’re very similar, there are a few differences. Lummi sticks have their roots in the traditions of the Lummi Nation in the Pacific Northwest and are often shorter and thicker than the rhythm sticks many of us use in our classrooms. They’re traditionally used in stick-passing games and coordinated movement activities.
Choosing Rhythm Sticks
If you’ve inherited a classroom full of rhythm sticks, you probably have whatever the last teacher ordered years ago. There are actually several different types available, and each has its own advantages. Whatever type you use, consider the size of your students. Twelve-inch sticks can feel awkward for younger children, while shorter versions are often much easier for small hands to manage.
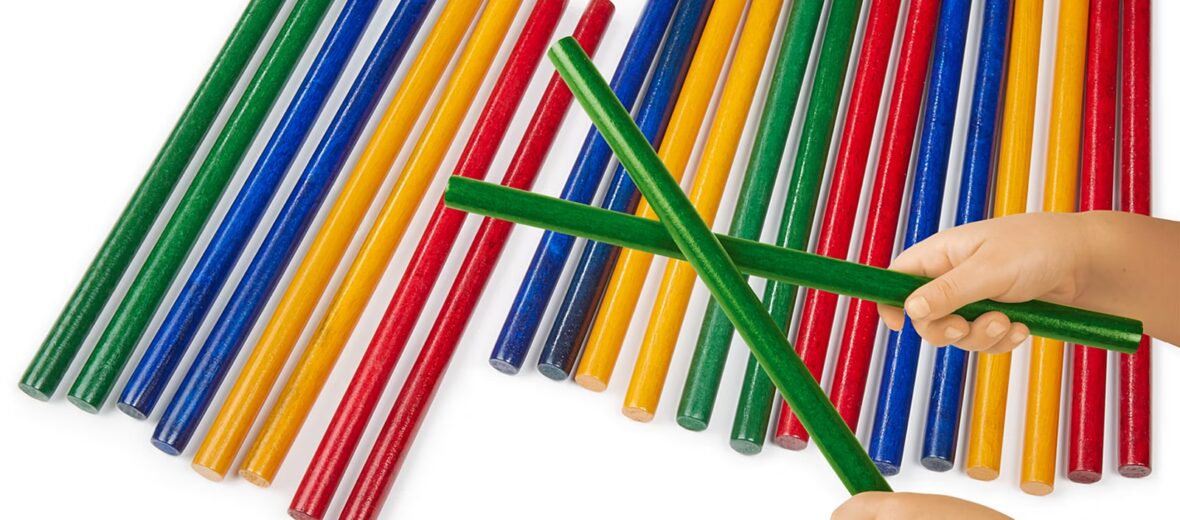
Traditional wooden rhythm sticks are the classic choice. They produce a great sound and come in a variety of colors and sizes. I usually hand students two sticks of the same color so that if kids click the sticks really hard there won’t be color transfer (like red paint being rubbed off on the yellow). You can also buy basic sticks that are not colored (often these are called lummi sticks in certain music education catalogs/websites)
Scraper rhythm sticks have ridges that allow students to create a scraping sound in addition to clicking. This is sort of like handing out the stick equivalent of a guiro. While I don’t reach for these very often, they’re a great option when you’re exploring different timbres and sound qualities. But beware. If you hand out these sticks you can say “we’re going to click not scrape” all you want but good luck getting them to hold back.
Plastic hollow rhythm sticks have become my personal favorite. They’re lightweight, durable, quieter than wooden sticks, and don’t splinter. They’re especially useful for activities where students toss or pass sticks because they’re much lighter if one accidentally bumps into someone. I originally learned about these from a PE teacher and also learned they’re cheaper to purchase if you get them through a PE vendor/catalog. So, reach out to your PE teacher to see if they have a vendor they prefer or if their prices are better than the ones you might find from a music vendor or general educational materials vendor.
Start with Exploration
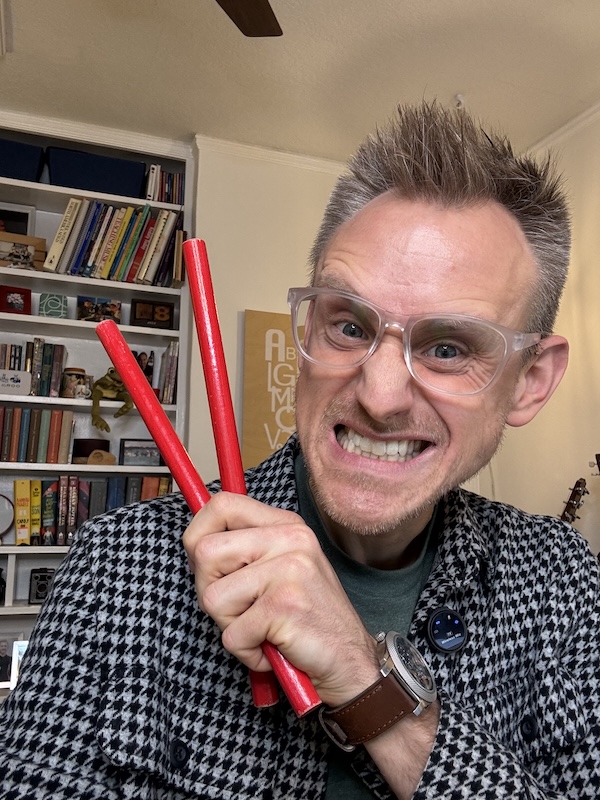
Before asking students to perform rhythms, spend a lesson simply exploring the instrument. Students love experimenting, and this kind of preparatory play pays off later. As they discover all the different sounds they can make and experiment with different ways to hold and play the sticks, they’re building confidence without even realizing it.
Ask questions like:
- How many different sounds can you make?
- Can you click end-to-end?
- Side-to-side?
- Loud? Soft?
- On the floor?
- With a partner?
- Can you make shapes with your sticks? Can you make the letter V? T? How about a capital Y?
By the time you ask them to echo a rhythm or perform a pattern, they already know how to hold the instrument comfortably, produce a good sound, and control their movements. Instead of worrying about how to use the rhythm sticks, they can focus on the music. Even better, once they’ve explored what the instrument can do, they begin treating it like a real musical instrument instead of simply “two sticks.”
Building Echo Skills – Simple to Complex
One of my favorite beginning-of-the-year activities is simple rhythm echo. Students echo short patterns while practicing changes in dynamics, tempo, and articulation. Once they’re successful with four-beat patterns, I gradually increase the challenge.
One visual that has worked incredibly well is using the rhythm sticks themselves to show the length of the pattern. I hold one stick horizontally and tell students, “The patterns have been this long.” Then I place a second stick end-to-end and say, “Now they’re going to be this long.” For whatever reason, that simple visual helps students immediately understand that they’re remembering twice as much musical information. Instead of saying “I was doing four beats, but now I’m doing eight,” I can just use the visual and they get it.
When introducing longer patterns, I also make the two halves feel distinct so students naturally hear them as two connected ideas instead of one overwhelming eight-beat pattern.
Introducing “The Teacher Pattern”
One of my favorite first-grade games revolves around what I call The Teacher Pattern. I tell students that every teacher learns a special rhythm in “teacher school.” They become incredibly curious, so of course they want to learn it. The pattern is simply the familiar attention signal that so many teachers use: ta ta ti-ti ta or quarter note, quarter note, eighth note pair, quarter note.
After students learn it, we play it in lots of different ways: quietly, loudly, on the floor, with partners, using different playing surfaces. Then the game begins! As I perform echo patterns, students echo everything back—but whenever they hear The Teacher Pattern, they signal that they’ve recognized it by making a “T” with their rhythm sticks (or another class signal). Eventually it becomes a “poison pattern.” If I play the Teacher Pattern, students aren’t allowed to echo it at all.
The best part comes later in the year when students begin recognizing that same rhythm everywhere—in classrooms, the cafeteria, PE, and throughout the school. Suddenly they’re hearing musical patterns in everyday life.
Want to learn more and see these ideas in action? Check out my Musical Mondays LIVE video (above) where I talk through rhythm sticks options, ideas, and extensions!
Rhythm Sticks Are a Starting Point
Rhythm sticks can certainly prepare students for bucket drumming, barred instruments, or mallet technique, but they don’t have to be just a stepping stone. They’re wonderful tools for rhythm echo, keeping a steady beat, reading and performing rhythmic patterns, creating ostinati, improvising, playing listening games, and exploring different timbres and textures. Because they’re so approachable, rhythm sticks allow students to focus on making music without feeling overwhelmed by a more complex instrument.
Sometimes the simplest instruments offer the greatest opportunities for musical thinking. If your rhythm sticks have been sitting in a cabinet waiting for a five-minute filler activity, it might be time to give them a bigger role in your classroom. You may be surprised by how much musical growth can happen with nothing more than two sticks and a little creativity.

Pingback: Rhythm Sticks Activities That Build Beat, Language, and Motor Skills - Allisong for Tots