Recorder Karate Flags – Displaying student progress
 I love the idea of tracking and celebrating student growth and progress in a public way. With a task as complex as playing a melodic wind instrument, there are a lot of variables to master. It takes real practice and work to learn to play the recorder in a fun, dynamic way, so I want to do everything I can to celebrate the growth of my students and make the learning, testing, and progress fun!
I think that the Recorder Karate system is a fantastic way to encourage growth, practice, and self-motivation on the recorder. Students just take so quickly to the system and love the idea of earning a belt to tie on their recorder. If you’re not familiar with Recorder Karate (and now Recorder Karate 2 and supplemental materials) then you need to get to Music K8 and check it out! If you want to take the system one step further you can start to create displays for the wall to track and follow student growth. I’ve been doing that for a couple years and LOVE the joy that I see in student faces when they’re able to move their name along the wall and show their friends, family, and teachers the growth that they’ve made.
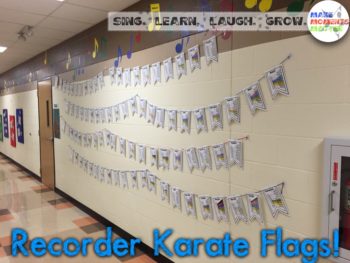 With that said, I needed something new and different to show students growth. I now have three grades learning with recorder karate (3rd, 4th, and 5th) and I wanted them all to have a distinct and fun way to track their progress. My third graders move their name along the wall on colorful pagodas with 9 levels to match the 9 belts of Recorder Karate. My fourth graders just got a wall with huge string instruments where they can move their names up the colorful fret boards all the way from white belt to black belt! Fifth grade needed something just as fun and dynamic. Last year I created this makeshift board to track their progress, and while I liked how it panned out, I needed something different. With the old way kids names kept falling off the wall (or were pulled off by little KDG fingers on their way to the bathroom) and besides, I already have a bulletin board in progress on that board that advertises for an upcoming concert and I really can’t take down until after our performance in a few weeks.
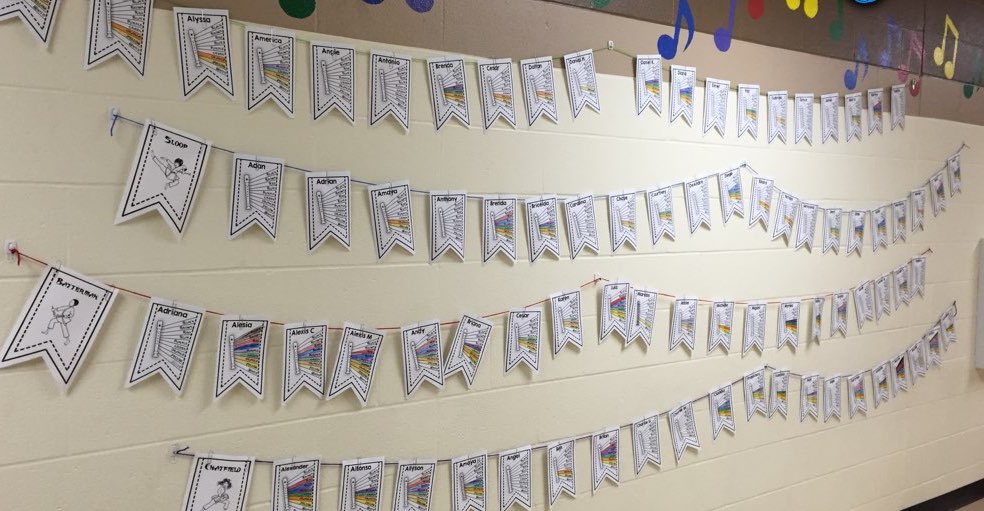
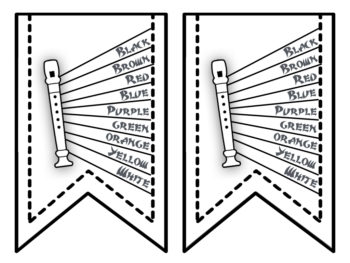
And so the flags were created! I got the idea from flags on a string, bunting style, and wanted each kid to have a flag that represented them! I think that you could conceivably have a flag for each color in the RK system and just have students autograph the flag/color when they get there, but I like this way because it makes it even more individual for each kid. The flag has a student’s name and the array of belts that they can earn. When a kid tests and earns their belt they can go out in the hallway and color it in to show that they’ve made progress. Taking the flag down and coloring it in feels like checking off a task on a checklist and the act of coloring it in feels really good for students. These flags are for my 5th graders (the highest grade at our school) and so, at the end of the year each kiddo gets to take their flag home as a memento of the progress and hard work that they’ve done.
What’s working, What’s not
Here’s where I’ll admit what’s not working and ask for some advice for what you think could make this better. Please leave comments in the comment section below if you have ideas for how to make this system work better. I’d love to modify and make it even more effective!
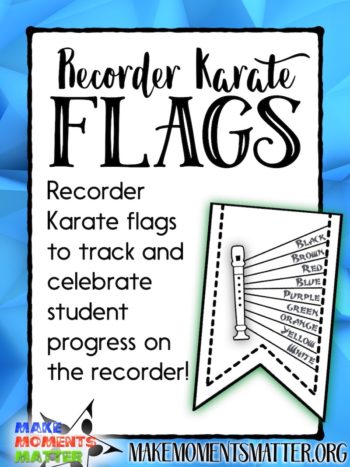
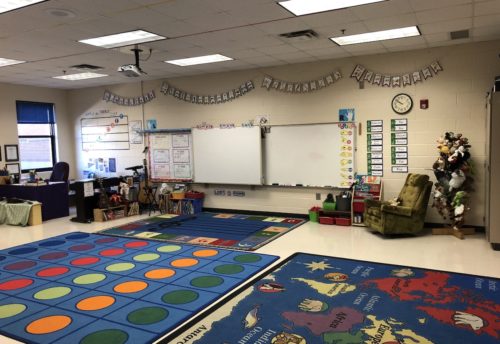
First of all, putting them up on the wall took some work and planning. I took some yarn and stretched it out on the wall between a couple 3m hooks. When I put them up initially I just taped the 3m hooks to the wall so that I could figure out placement. I knew that when I added the flags it would pull down on the yarn and stretch it out. I didn’t want secure anchors on each end of the string until I knew for certain where I wanted each one to go. After all the flags were up and I was happy with placement I went back and attached the end of each string of flags to the wall with a 3m hook and a 3m sticky back strip. With a 3m strip in place they’re not going to fall off on their own! I put one 3m hook in the middle to add the feeling of bunting and then called it good. I’m sure you could add more anchors in the middle to create more up and down “waves” but I was running low on hooks, strips, and time…
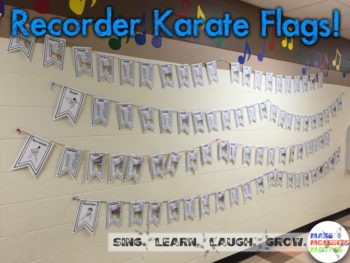 Now, putting flags on the wall! I had this great idea initially that I would clothespin all the flags up on the wall. Just stop and imagine that for a second, wouldn’t it be so cute? Well, it might have been, but it would never have worked. I tried with a couple flags but the clothespin was so heavy that it immediately pulled the whole shebang off the wall. I switched to paperclips and haven’t looked back. To get even more specific, I think that the smallest paperclip you can find would be the best because it would add the least amount of weight on the yarn. I don’t love the paperclips option (sometimes the open end of the clip gets stuck on the yarn and makes it hard to get the clip off of the yarn) but they seem to be the best, lightest option. I thought about some other things. For instance, I could have taped the flags to the string and that would have been light. But again, I wanted kids to get to take these home at the end of the year and so needed them to be easy to take down. Do you have any other ideas for securing flags? Leave them in the comments, I’m not sure paperclips are the only/best option.
At the end of each string of flags I put a larger flag with the homeroom teacher’s name so that kids could more easily find their class and then find their name. If you look carefully at the pictures here you’ll see some really awesome clip art in those flags, and that’s clip art that I am not able to distribute (so you won’t get those flags in this freebie). For those really amazing images which are DIFFERENT from the ones in Recorder Karate 1 you’ll have to download Recorder Karate 2!! It’s a great new resource that’s especially helpful to add in songs and resources between belt colors and for those kids who need more that just one black belt! Get the download & print convenience pack. Then you’ll have a hard copy and a digital copy. That’s what I bought and while it’s a little more money, it’s totally worth it.
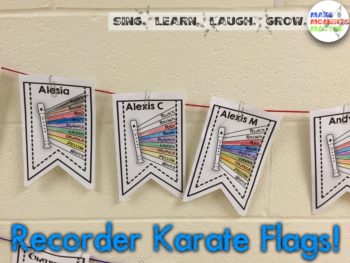 Another thing that worked for me, but… maybe you’d want to change. I typed individual student names on each flag. This is super easy to do if you have the image in PowerPoint, but it does take some time. I think that you could definitely print them out blank and hand write in names or maybe better, have students write in their own names. There are lots of options with this, but I decided to type them because I wanted them to all be uniform… confession: I’m a little bit of a perfectionist at times. Typing eased my stress.
One thing that I’d love to ask all of you: what do I do with the white belts? You can’t really color that one in and so kids who only have their white belt don’t have anything to do when they earn the belt (although I had a smart little girl take a white crayon and rub it over the word “white”… I guess that’s something). Any ideas with this would be so great. If you’ve got a brilliant idea, put it in the comments and we’ll all benefit from it!
Free for you! Download & Enjoy!
Download the flag, try it out, see how it works for you and REPORT BACK! I love seeing pictures of your rooms and would be thrilled to see if you use this resource and how it works for you! Also, send me an email or leave a comment here if you have ideas on how to improve the flag. I’m happy to make edits if it improves the resource for all of us.
I’m leaving the flag files here on the blog (and not adding it to my TPT store… so don’t look for it there!) as a free download in PowerPoint format. I left a textbox on the powerpoint slide so that you can go in and type students names if you wanted to and if not, just hit “print” and your computer will print it without any name. When you print, make sure that you have “Scale to Fit Paper” clicked otherwise it might not fit right! If you’d like to type the names for a whole class of students just copy the slide itself and make edits to each slide, then print off all at once.
I hope that this has been helpful for you and that you can use the flag in some way in your classroom! If you’d like more recorder resources you can click HERE to visit my Teaching – Recorder pinboard or click HERE to visit my TPT store and see what resources I have that are recorder related!
Recorder Karate method book written by Barb Philipak © 2002 Plank Road Publishing, Inc. • All Rights Reserved • Used by permission • www.musick8.com


18 Comments