Rhythm Dice for the Music Room
Have you seen pictures on Pinterest or Facebook with colorful rhythm dice and thought, “How cool! But, how would I use them? Would I need to make them? How should I do that?” I had all of those questions and then one day the dice dropped into my lap and I had to figure out how to use them! So, in this blog post I thought I would take some time to walk you through my rhythm dice process and show you how I made the dice, explain how I use them in my classroom, and share the resources that I’ve made to go with them.
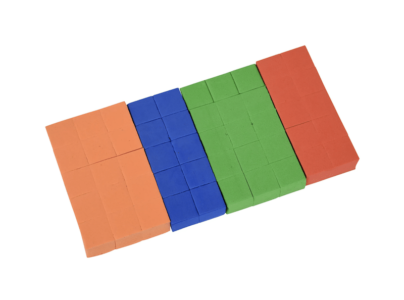
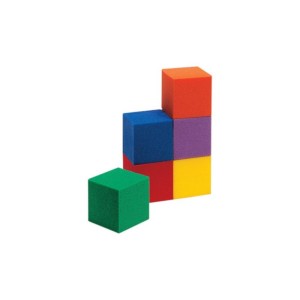
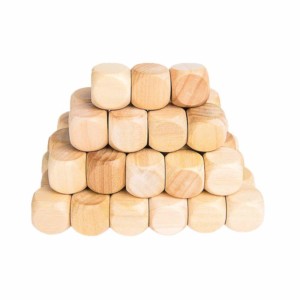
First of all, you need some dice… or really any sort of cubes. You can buy the cubes online and have options like colored/uncolored and foam/wood/plastic. Whatever you choose, you want to make sure they’re about 3/4 inch to 1 inch. Any smaller and you’ll lose them and any bigger and they’re not as easy to store or manipulate. Here are a few options that I found. Click on each one to visit another page where you can buy the cubes.
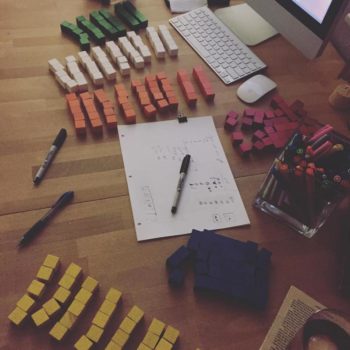
I got lucky and the cubes I found were free. At the end of a school year the teachers down the hall were cleaning out their room and were throwing away old math curriculum manipulatives to make room for the new curriculum. The colorful blocks were going to be tossed out and those teachers were really sad about it. Luckily I was there to swoop in and save them from the dumpster! So, ask around and see if there are old math/science manipulatives laying around. You never know what you’ll find.
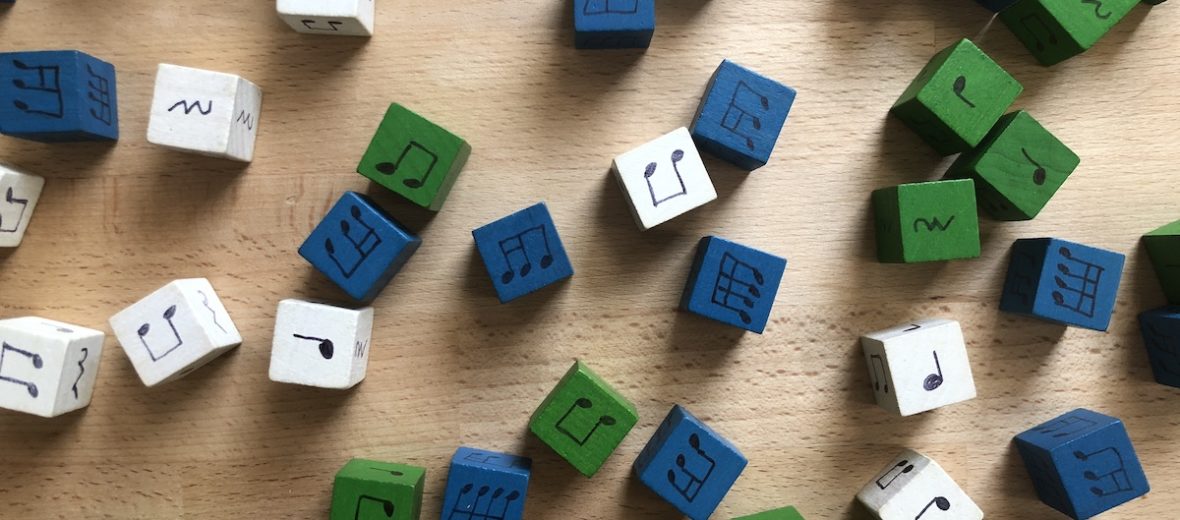
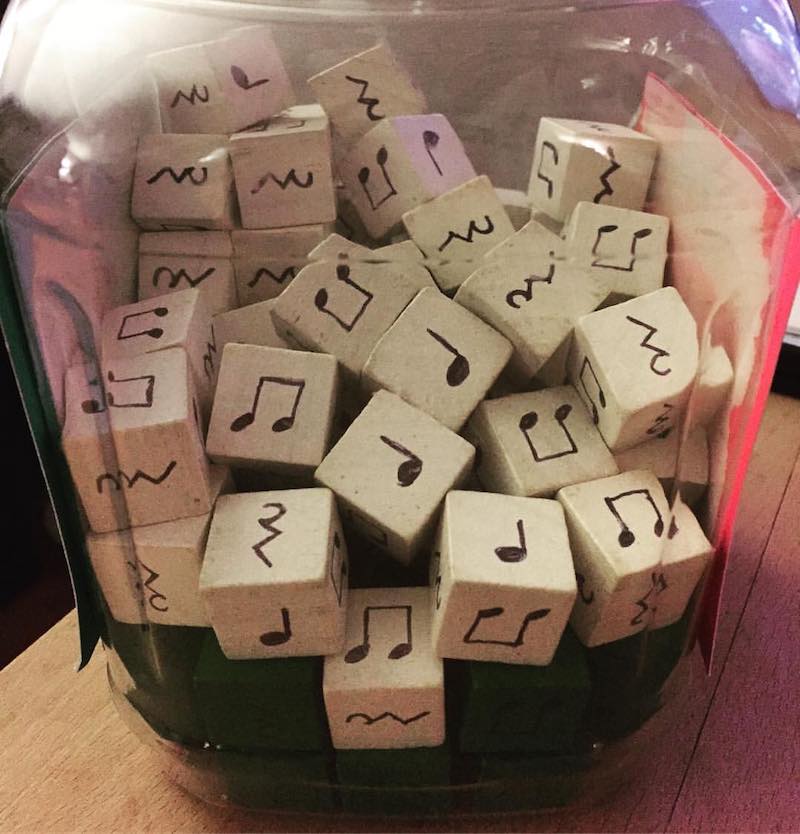
Once I had the cubes I had to decide how to use them in the classroom. My thought was that I could use them with small groups or center activities and they could be rhythm dice. I just had to write out one note or rest on each face of the die and kids could roll the dice to see what rhythm shows up. You could also use this same concept for solfege if you’d like.
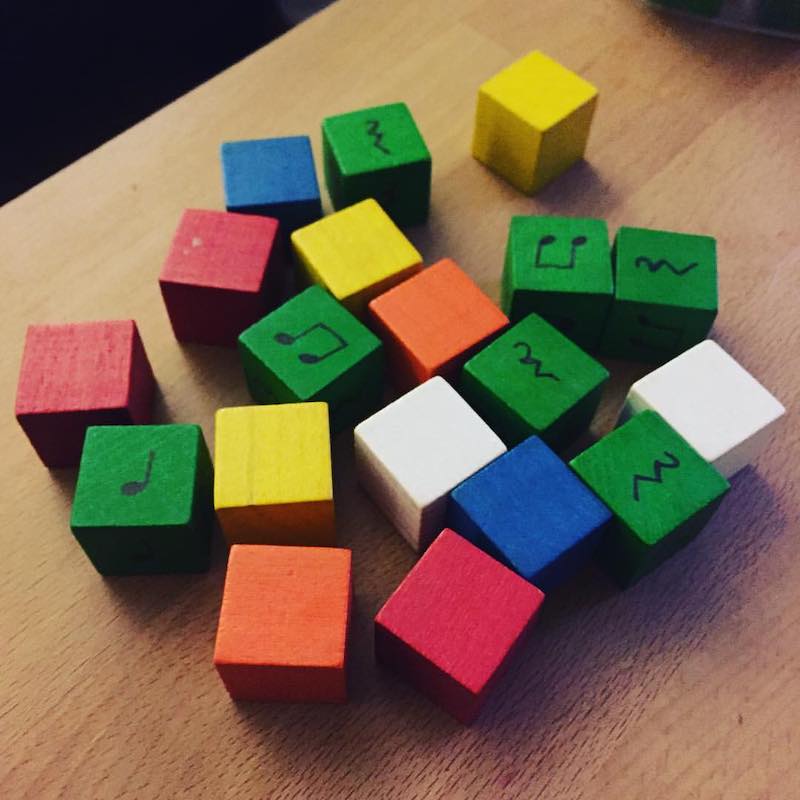
When creating the dice I made three different sets. The first set included quarter notes, eighth note pairs, and quarter rests. Since the die has 6 sides and I only had 3 rhythms chosen I doubled them so each die had 2 quarter notes, 2 pairs of eighth notes, and 2 quarter rests. I thought this combination of notes/rests would be easiest to use initially since each one would only count for one beat. I also thought I’d use these the most so I made more of them color-coding the resource by creating these dice on my green and white cubes.
I made another set of dice on blue cubes with half notes/rests, and whole notes/rests. Again, some things had to be doubled on these cubes to fill out all the sides. Finally I made a set of cubes that included sixteenth notes and combinations of eighth and two sixteenth notes. When it was all said and done I had many different rhythm dice with different rhythmic combinations that I could use for a variety of activities. I color-coded them so that I could easily identify and switch out the dice that I needed for any given activity.
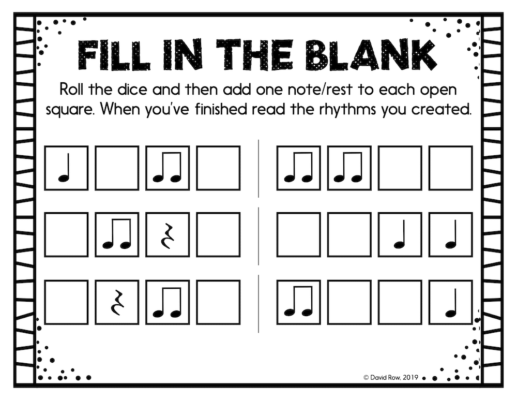
I immediately started using the rhythm dice with students to encourage rhythm notation and basic arranging. I grouped students into small clusters of about two or three to a group and then gave them a whiteboard with a set of four dice. They had to roll them and then write what they saw onto the whiteboard. They could arrange them however they wanted and rearrange if they didn’t end up with something they liked. Through this process you had students reading notation, copying/writing notes, and arranging them into different combinations.
For an added challenge to an activity like this you could use stick notation on the rhythm cubes and ask students to copy down the rhythm in standard notation. This would require you to create another set of cubes with just the stick notation on the side but it would be a fun exercise for the kids and would take a little critical thinking to transfer from their cubes to white board, stick to standard notation.
As students were working I could walk around and help them as needed. Putting them into small groups takes away some of the problems they might run into because the kids in each group can help the others figure out problems together. It was only when I put them into centers or solo work that I came up with problems. I was running out of white boards and some students were zooming through while others needed more instruction.
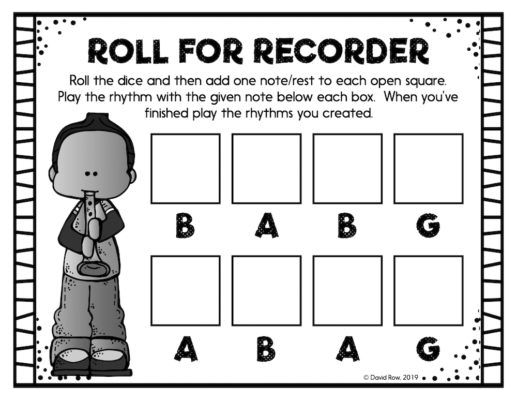
So, I created some worksheets to put in the centers and help students who needed more direction. The worksheets mimicked what we did with the white boards (roll and write) but gave a little more definition and structure to the activity. To make this even more fun I made a few worksheets with 4/4 time and some with 3/4 time.
I included another worksheets where students had to include a dynamic level with each line and then clap/speak/perform their line when they were finished at the given dynamic level. Also included were extension sheets for recorder where the student rolls the dice and then arranges it into a short melodic line.
I have to say, the rhythm dice are a total hit in my classroom. The kids think that using the dice is just a fun game and I think that it’s a great trick to get kids composing, arranging, and copying rhythmic notation. Use them easily with small groups or try them out in centers! For a few more ideas about learning centers, check out this blog post about how to get started.
As I mentioned before you could do a version of these dice and make them with stick notation instead of standard notation. You could also use the dice to teach solfege syllables or another concept. How would you use these dice? Feel free to share an idea in the comments!

12 Comments