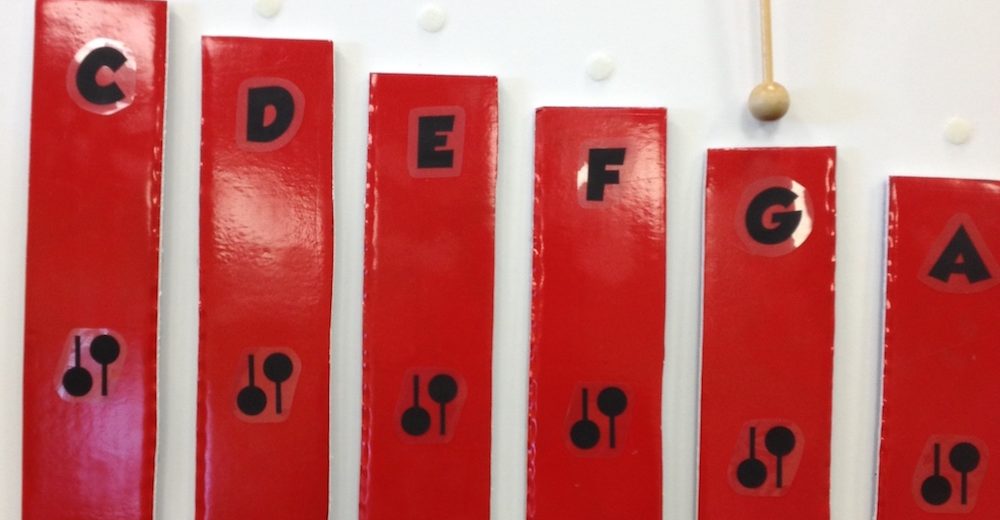
DIY Xylophone Visual
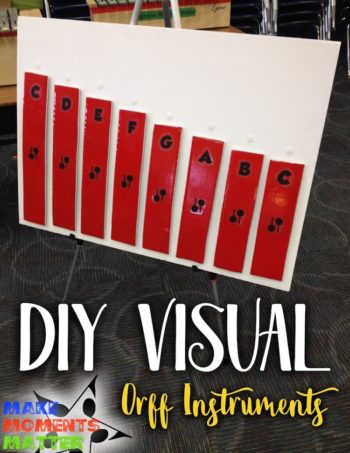
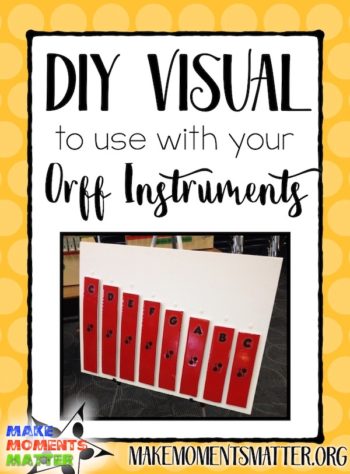 It all started out with the idea that I wanted a large xylophone visual to show students how to set up their barred percussion instruments for playing and singing in class. I needed a quick and easy way to display what their own instrument should look like – something they could all see even from the back of the room. It needed to be substantial in size but also durable since I knew it would probably be used a lot in my room. So, I set on the quest of making my own xylophone visual.
You’ve probably seen a lot of displays like this one out on the internet, I have too. Xylophone visual aids like this are a huge help in the classroom. Instead of just telling kids which bars to take off and repeating your words over and over I can SHOW them which bars need to be removed and actually do it with them! It’s especially helpful for English Language Learners who need a little more visual support and who benefit from putting a picture to a word. The process of creating this xylophone visual was a little time-intensive because I didn’t really have a template or idea of how to start. I thought I’d write a little about the visual and how I created it so that you can be even better informed when you decide to make YOUR OWN xylophone visual!
Xylophone Visual – The Process
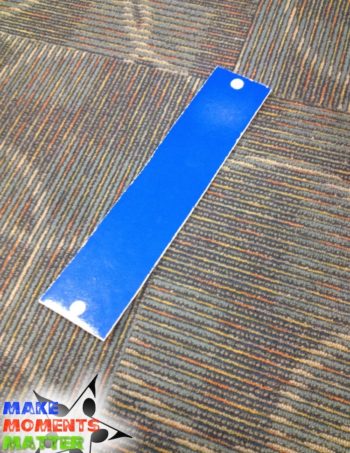 It all started with figuring out how to create the backing and the bars. I’ve seen visuals that are made of thick cardboard, some out of felt, and others from foam core. I eventually went with foam core because it seemed to be the most long-lasting material that I had access to and would be easy to manipulate, cut, and work with. So, I took two large pieces of foam core to make the backing piece of the visual and the various bars that would go on top.
The backing is a big white piece of foam core and the bars were cut from one large piece of blue form core. The backing board would stay white and the blue foam core was modified. I spray painted the other side of the blue sheet red so that the bars could be red on one side and blue on the other. Initially I had this idea that I could remove the bar and turn it over to replace on the board, but I later scrapped that idea. I’d rather have “missing bars” than differently colored bars on display.
Finishing the Bars – Label & Attach
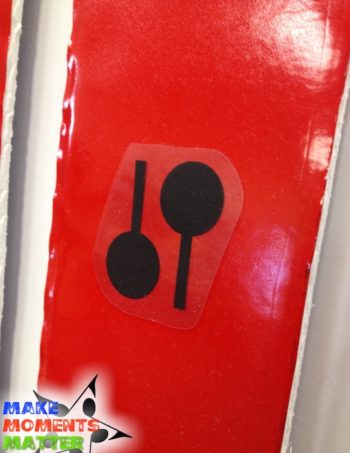
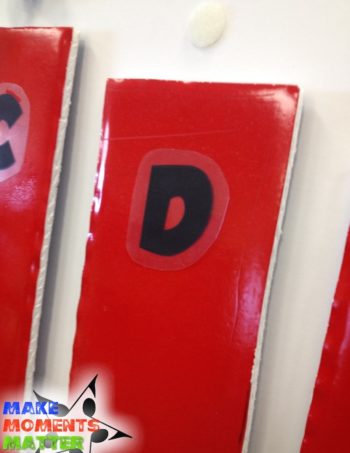 When figuring out how to label the bars I decided to print out the letters on transparency paper and overlay the letter on the bar itself and tape it down. Transparency sheets are AMAZING! It gives you a way to print and cut and label without the annoying white halos that you get when you print on normal white paper and cut around. If you do it right it looks like you’ve printed right on to the object that you label. The other cool thing about transparency sheets is that if you work in a slightly older school or district you can sometimes get these sheets for free from your stockroom or if you ask around your building. They’re not used nearly as often as they used to be and you can sometimes find a great stockpile that someone has hoarded in their supply closet but will never conceivably use again. Put out a message on Facebook asking for them, talk to people in your building, mention it to folks at your church office. Ask around. It’s worth a try.
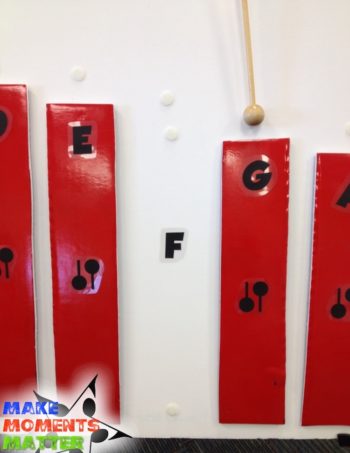 I made sure to also label the name of the bar UNDERNEATH (directly onto the white backing piece) so that when I removed a bar the students can see which bar has been taken off. I always assumed that kids would figure out that bars progress alphabetically on the instrument but for some reason kid still try and put a B where an F goes. The absent bar still has that letter placeholder which has made things pretty easy when kids have to figure out which bar needs to go back where.
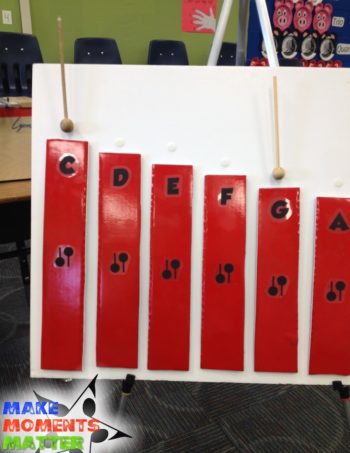
Finally, I put a dot of velcro above each bar so that I could show kids which two bars were being used most often in each song. Some kids have trouble remembering which bars to play for the bordun/drone and this little touch gives a chance for reinforcement. I velcroed some old unused mallets on top of the bars to basically show kids “put your mallets here and here.” You could also add another visual element like a star or a dot or something on those velcro spots if you want kids to improvise using three selected notes or if you want them to know where the tonic of the key is.
This project was totally worth the time and effort (and a whole lot cheaper than what you can get in the music catalogs). Ya’ll know that I’m cheap when it comes to things like this. I love DIY projects because it’s something I can work on and customize for MY classroom (and then take with me if I ever decide to move schools). The materials were pretty inexpensive and any left over elements I can most likely use the next time I want to make a project like this.
Leave a comment if you have further questions or ideas on how to make this project even better. I think that I have a copy of the digital picture that I used to project on the foam core/trace the shape of the bars to make them all even. I’m happy to take measurements if you want or share other details about making this visual.


10 Comments