DIY Music Crayons
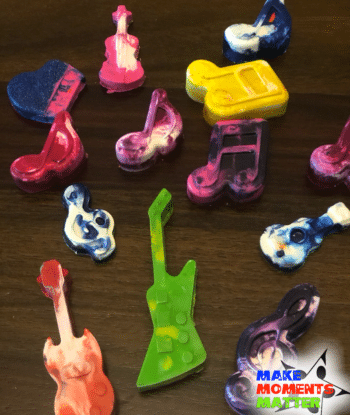
Do you ever see a project in a Facebook Group or on Pinterest and immediately think “I could do that!” This DIY music crayon project came from one of those a-ha moments after surfing through a music teacher Facebook group. The original poster in Elementary Music Teachers, Jennifer Z., had taken old crayons and melted them down in the oven inside music-shaped molds. What resulted was beautiful little music-themed crayons that she could give away for birthdays, positive behavior, or a million other things.
I was immediately inspired and wanted to share the process I took to making these little crayon beauties. I made some mistakes and had some epiphanies along the way, so I thought I would share some of the process so that you can take on this project and be immediately successful! If you want to see even more check out my Instagram Highlights – I documented the process. Grab some crayons, start preheating your oven, and let’s get to it!
Getting Started – Your Materials
You’ll want to gather all the important materials before you get too far into this project. Obviously you’ll need crayons. I sent out an email to the staff at my school asking for help with this part. I said:
Hi friends, I’ve got a crazy idea for a reward for super star students and I’m looking for old crayons. I’ll take the broken bits, cracked crayons, and anything else you don’t want. If you have anything you think might work just bag them up and send them my way.
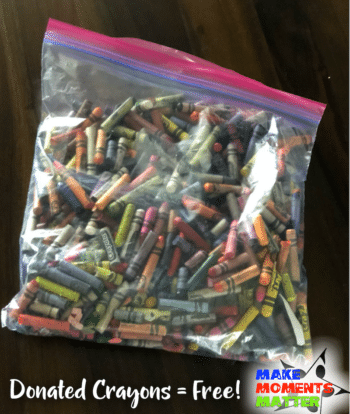
The response was immediate and amazing. I had kids from all over the school coming down with ziplock bags of crayons saying, “these are from Mrs. So-and-so and we have more if you need them.” I also had some teachers send out emails to their homeroom parents which resulted in even more crayons. Everything was free and super quick! All that to say, don’t go buy new crayons for this project when you can get perfectly good bits and pieces for free.
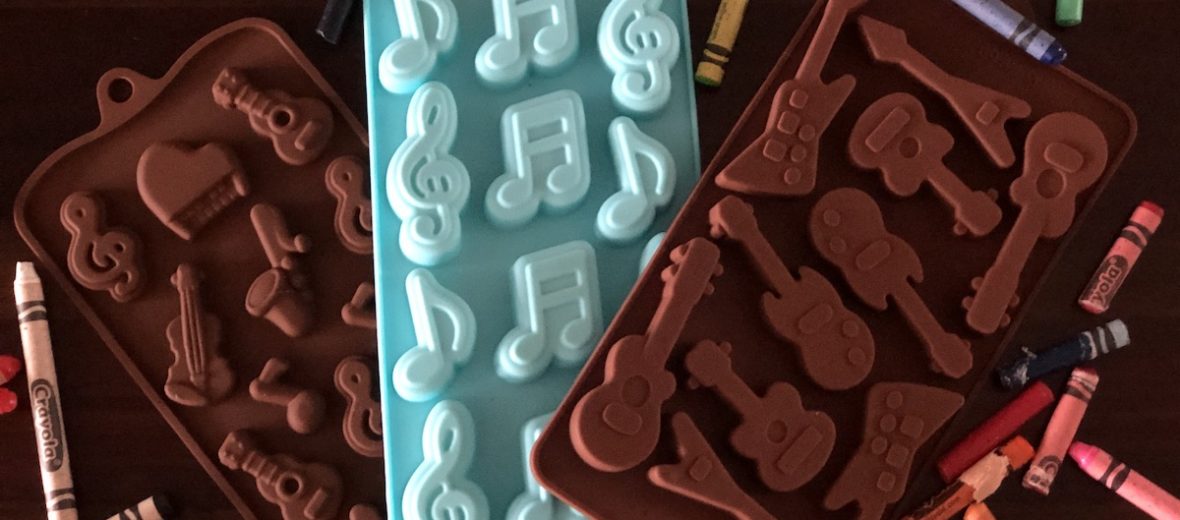
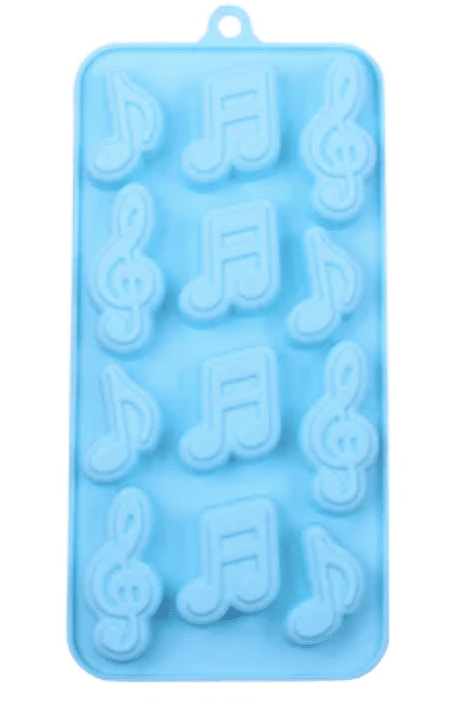
I also needed molds so that I could melt the crayons into different musical shapes. If you go searching for crayon molds you’re probably not going to find very many options out there for musical ones. Instead, do some searching for candy molds, cake decorating molds, etc. As long as you find nice silocone (not hard plastic) molds you’ll be able to use them in the oven to melt down crayons.
Make sure your molds are deep enough that you can get a pretty thick crayon. If you get something that’s not very deep then you’ll be making a crayon that’s very easy to break. Since the molds are meant to be used for candy or cake decoration you’ll often find fun-looking molds that just wouldn’t work well for crayons. The molds that I saw in the original Facebook post were all music note shaped and came from Michael’s Craft Stores (only about $5). They are amazing! Here’s a link to those music note-themed molds.
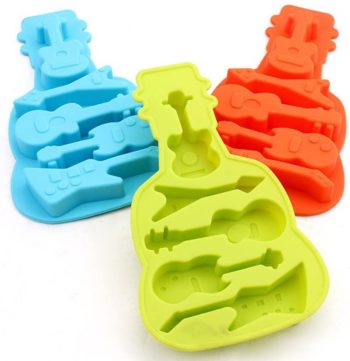
I wanted some variety so I bought a couple different guitar, ukulele, violin shaped molds on Amazon and I was so excited about them. Some of them worked very well and others just did not. The problem was the some of the guitar molds and violin molds were fun but that when you melted crayons down the crayons would always break on the neck of the instrument. I bought several different things on Amazon and other sites to try them out and a few had deep/thick enough molds so that the neck of the guitar/violin wouldn’t snap. The molds that were the most successful were pretty deep molds and had a variety of guitar shapes – pictured above (only about $6). Here’s a link to the guitar molds that actually worked.
Creation Process – Cutting and Melting
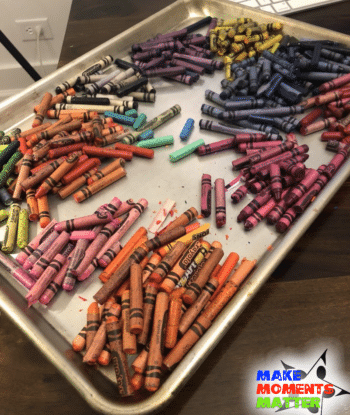
Once you have all your materials you have to get into the process of actually creating the crayons. I took a few mintues to sort all my crayons into different piles of blues, greens, reds, and so on. That helped me out later as I tried to fill the crayon molds with the colors I wanted. Instead of searching through a huge bag or bucket of crayons for the exact right blue that you’ll need you have a pile of blue options to look through.
Then comes the process of taking off the crayon paper. I have friends who have done a project similar to this and they told me that you can soak the crayons in a bucket of water to soften the paper. They say the paper will fall right off. To me, that sounds like a gross, soggy, waxy mess.
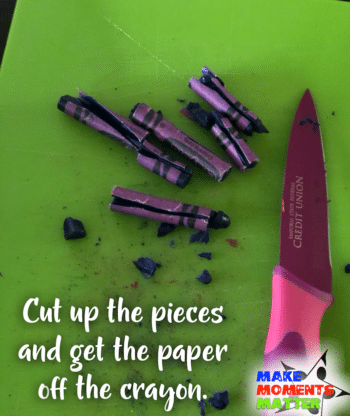
Instead I took a paring knife and cut the crayons lengthwise. This did two things. First, it made it super easy to take the paper off since the paper wrapper was basically cut in two. It also broke up the crayon into pieces that were easy to fit into the mold. When you’re loading up the mold you really do want smaller pieces to fill in the little cracks and crevices.
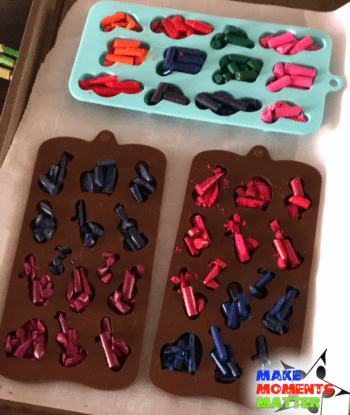
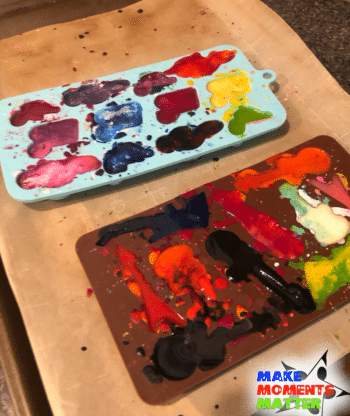
I put the molds on baking sheets lined with parchment paper. The paper helps so that if there’s any over spill of hot wax you won’t be scrubbing it off later in the kitchen sink. I tried to fill the molds as best I could and really pack in the crayon pieces. You want to fill as much as you can so that when the wax melts you get really deep and thick crayons.
The crayons went in the oven at 350 degrees for about 10 minutes. Depending on what crayons you’re using and the type of wax they’re made of (Crayola vs. free crayons from Chili’s kids meals) you should have all the wax melted in just 10 minutes. Once you take the molds out of the oven let them cool off for about 30 minutes or more before you try and get the crayons out of the molds. This is why you might want to buy a couple molds so that you can do them in batches and have one set cooling while another is going into the oven.
Once you do a few of these crayons you realize some things. You can easily do crayons all of the same color. By this I mean an all blue Treble Clef or an all green eighth note. You can also mix and match to great effect. Make a blue and white swirl crayon or a red, green, and yellow crayon. Mix and match as much as you want. It’s especially helpful to add in little bits of lighter colors like white, yellow, or pale blue to darker colors since purple, blue, and black crayon wax all sort of looks the same.
Okay, your turn! Go grab some materials and get going and please let me know in the comments if you tried this and how it worked. Thanks again to Jennifer Z in the Elementary Music Teachers Facebook group for sharing the idea for this project!

4 Comments