CHAMPS for the Music Room
 Teachers live in a constant state of change. Sometimes it feels like every staff development day comes with a new initiative and teaching method to adopt. And how do you learn about and prepare for this new system? Teachers might be given a 2 hour training by someone from “central office” who attended a session about the new system at a conference. If you’re lucky you’ll get a teacher-trainer from far away who swoops in for a day-long training, talks about their freshly patented system, and then zooms away. Teachers are often left in the lurch and expected to start using a new classroom management system or ELA procedure or process to teach STEM as soon as possible without much follow up or support. We do our best to adapt but it’s difficult to change to something mid-stream when you’re already overwhelmed with the content that you’re supposed to teach this year.
That’s how I felt when I was first introduced to the CHAMPS process for classroom management. The system was held up as this great way to manage your classroom and reinforce expectations and behaviors. However, the teacher-trainer who led my session couldn’t give me a lot of concrete ideas or examples of how to adapt the system for an elementary music classroom. As I sat there during the training I tried first to understand how the system would be used in a general education classroom and then started to think about how each of those processes could be changed to fit the needs of my music room. Some adaptations were easy and others were a little more tricky.
In this blog post I’m going to try and explain the CHAMPS system as best I can understand it and give some examples of how to use it in a music classroom. CHAMPS were really made with the idea that the behavior modification system would be implemented school-wide. When students are asked to follow the CHAMPS in each classroom they begin to adapt their behavior across the school. For that reason CHAMPS is most successful when used school-wide but it can absolutely change behavior and help with management when used by a single classroom. Below you’ll find my adaptations and changes as well as suggestions for how to use CHAMPS for a variety of activities.
Let me just say one more time that I am not a certified CHAMPS trainer and I do not represent the organization (Safe and Civil Schools) that created CHAMPS. If you really want a good understanding of CHAMPS I suggest you purchase the CHAMPS book by author Randy Sprick or find a training in your area. That said, I have read the book, gone to the trainings, and have lived with CHAMPS for several years in my classroom. Here’s what I’ve learned.
What is CHAMPS?
CHAMPS is a classroom management system that provides clear structure for any and all activities in a classroom. The system puts students in charge of their behavior and makes them responsible for their actions. The whole system is based around two main questions: What do students need to know and do in order to behave responsibly? What do students need to know and do in order to be successful?
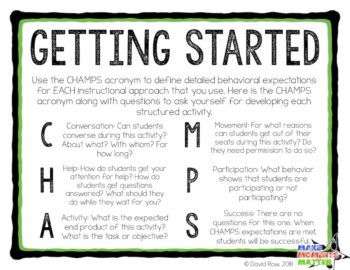
CHAMPS is really an acronym that helps define detailed behavioral expectations for EACH instructional approach that you use. Teachers are tasked with thinking through each class activity and clearly defining what students need to do to be successful. Here is the CHAMPs acronym along with questions to ask yourself for developing each structured activity.
C – Conversation
Can students talk with one another during this activity? About what? With whom? For how long?
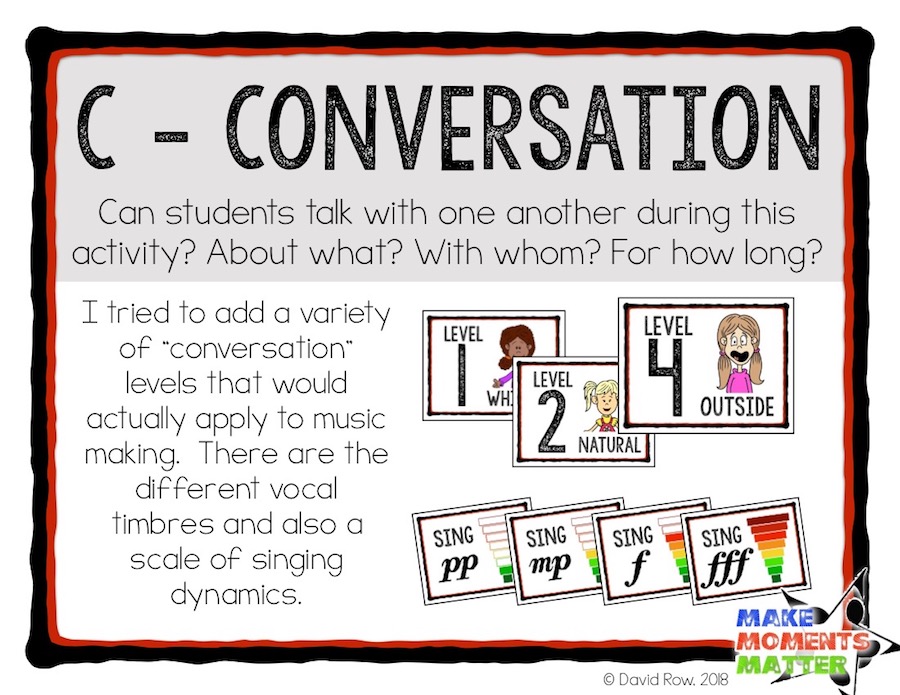
In this section you let students know what behavior is appropriate when it comes to conversation. Can they talk with their neighbor? Can they talk with their group? Should they use their whisper voice, speaking voice, or presentation voice? For music class this got a little more interesting as I tried to outline what voices were appropriate for different activities. I made poster options so that I could show students they were allowed to use their whisper, speaking, presentation, or shouting voices.
The original CHAMPS system doesn’t really have an option for singing but that’s pretty vital for music classes. So, I made a set of posters that outlines different types of singing based around dynamics. Kid should sing piano or they should sing forte or somewhere in between. For these posters I added a little sliding scale that looks like the image you see when you’re checking your cell phone signal. One bar means piano and quiet. Four bars means mezzo piano. Full bars means fff and shows students they can sing loudly. My thought was that even if students didn’t know the dynamics markings they could infer the sound level from the picture and at the same time the poster would help teach the dynamics.
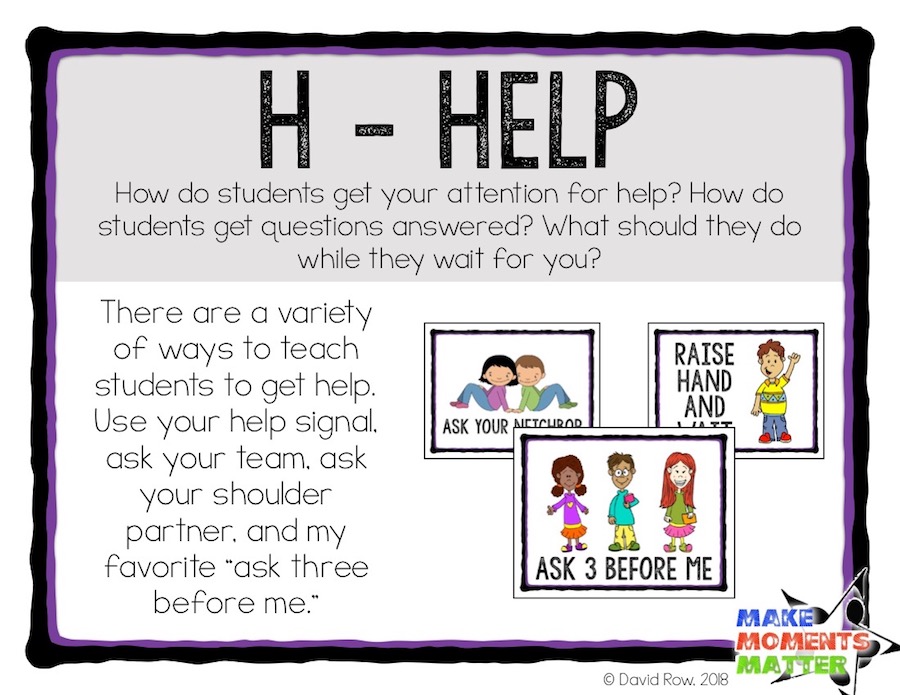
H – Help
How do students get your attention for help? How do students get questions answered? What should they do while they wait for you?
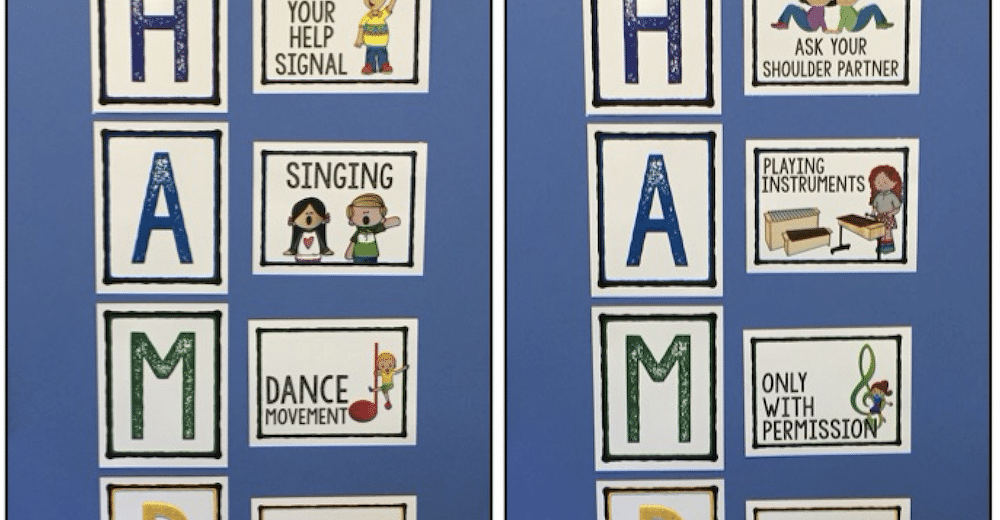
This part of the system shows students how to ask for help. The poster that I leave up most often for whole group instruction is “raise hand and wait,” or “use your help signal.” However for some activities like composition/improvisation or learning centers you might want students to work in their small group, ask their “shoulder partner,” or ask a few other people before they come to you with questions.
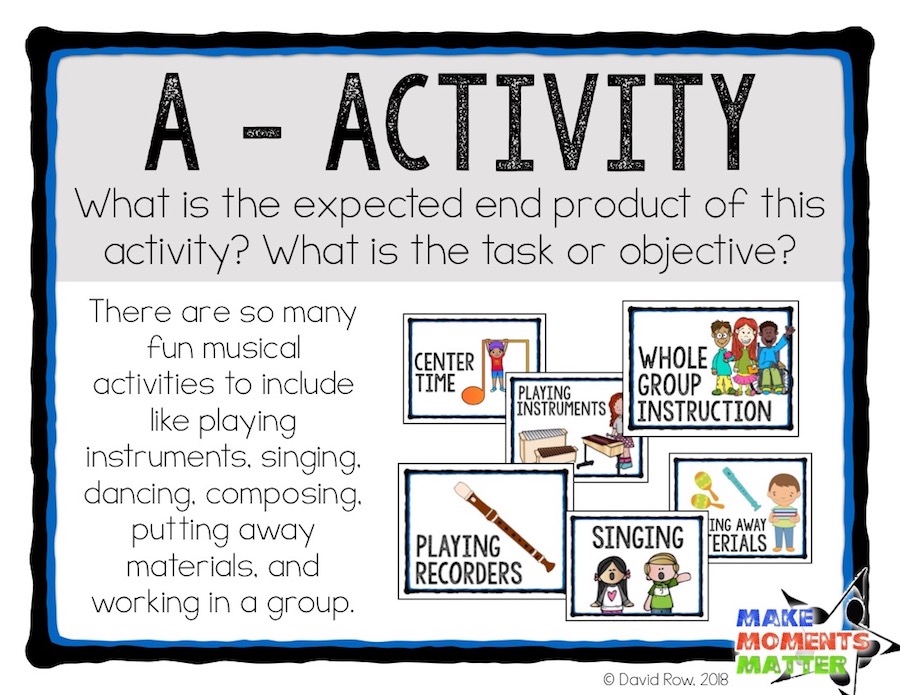
A – Activity
What is the expected end product of this activity? What is the task or objective?
While students often should know what they’re working on in your class it’s often good to give them a reminder. They’re supposed to be playing recorder, composing, reading, playing instruments, and so on. Perhaps if you’re working in small groups you could do one poster for each group. For example for Group A you might show “Playing the pitched percussion instruments” and for Group B “Composing.”
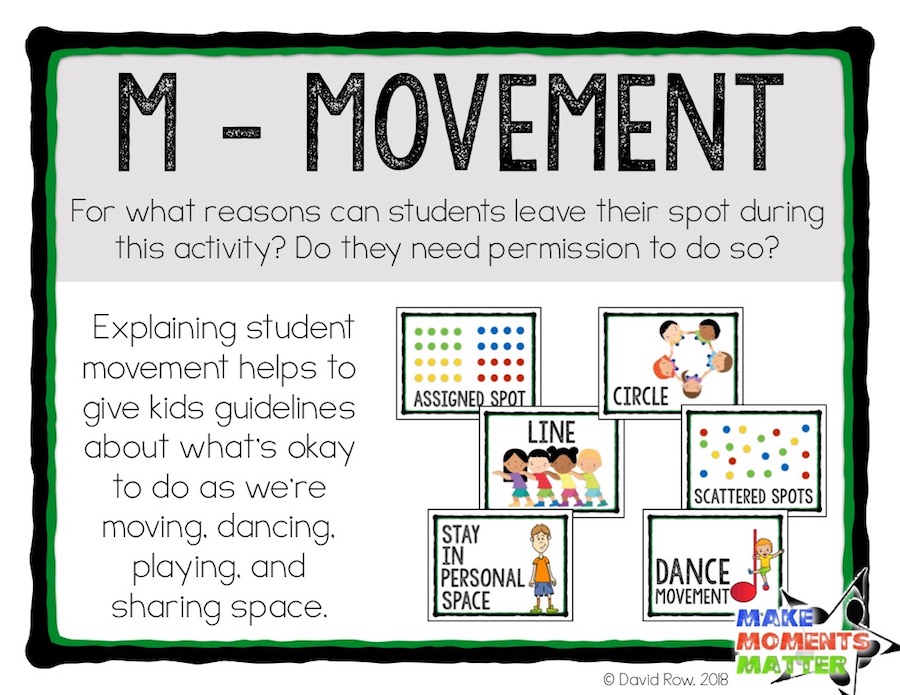
M – Movement
For what reasons can students leave their spot during this activity? Do they need permission to do so?
We move a lot and in a variety of ways every day in the music room. I started out by making posters for assigned spots, personal spaces, scattered spots, circle formation, and so on. But what to do about songs like “Jim Along Josie,” or movement games where they’re constantly changing from one action to another. If I made a sign for each type of movement I’d be forever switching out signs for skipping, galloping, walking, hopping, and so on every few minutes. I had to get creative for those little “for this verse only” songs and came up with posters with umbrella terms like “dance movement” and “small group movement.” That way you could put up one poster and then verbally explain “now you hop” or “now let’s slither.”
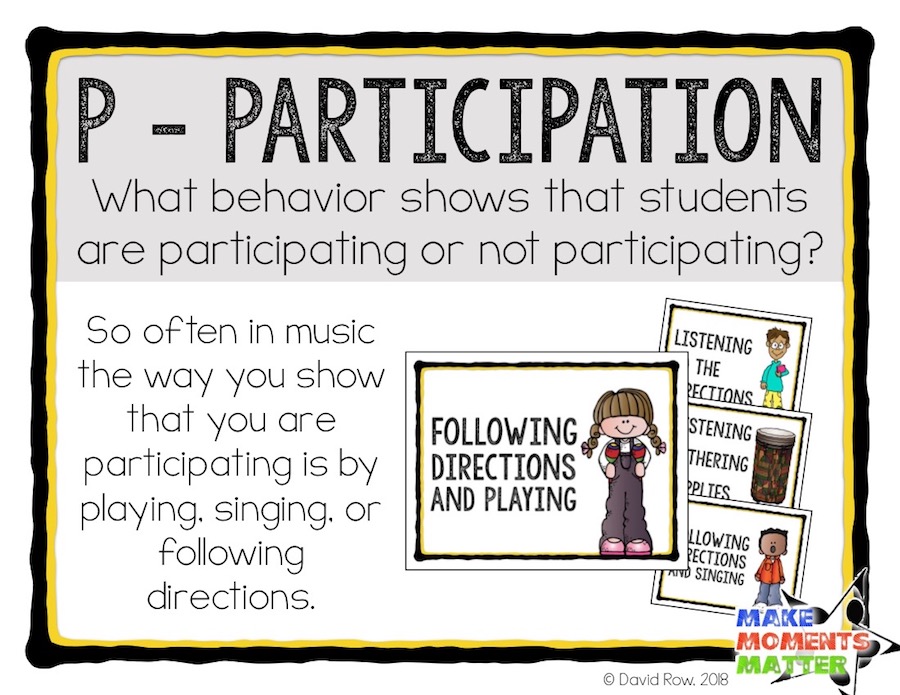
P – Participation
What behavior shows that students are participating or not participating?
This section really reinforces what it looks like when students are participating correctly. I like to tell students that this is the portion that I look for when I’m grading or when I’m checking to see if students are really on task. Posters in this section have phrases like “Following directions and playing recorder,” or “listening and gathering supplies.” This is the part of the system that helps keep kids on track.
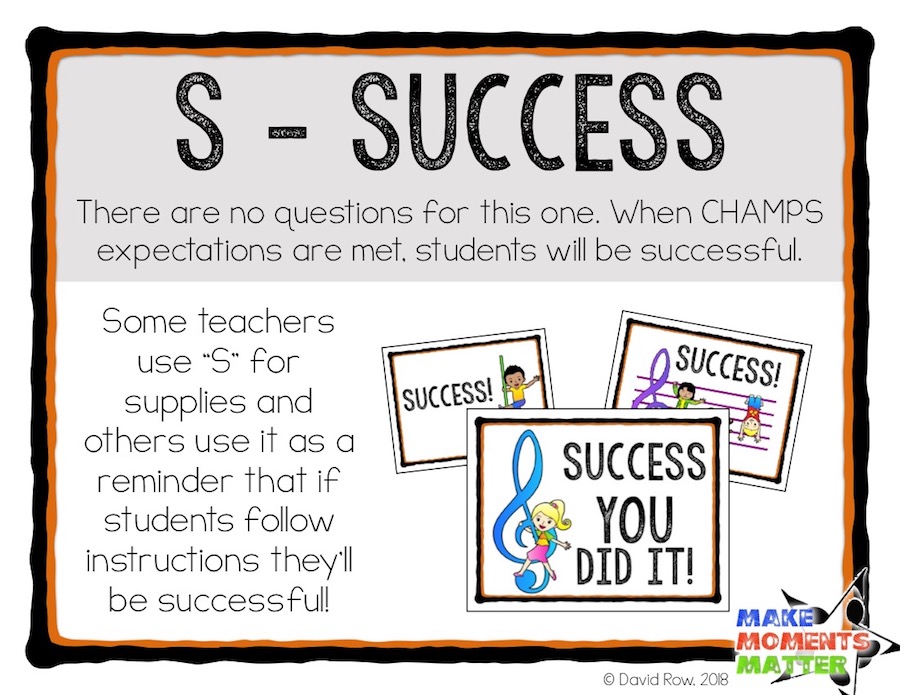
S – Success
There are no questions for this one. When CHAMPS expectations are met, students will be successful.
Some teachers use the “S” of CHAMPS to stand for “success” to show students that when they follow all the directions for C, H, A, M, and P they’ll be successful. I’ve also see some teachers who use the letter “S” for “supplies.” In my room the activity will sometimes call for supplies and sometimes not. I decided to stick with S for Success as the original system directs.
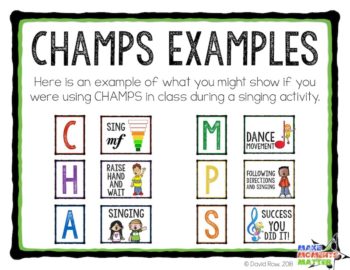
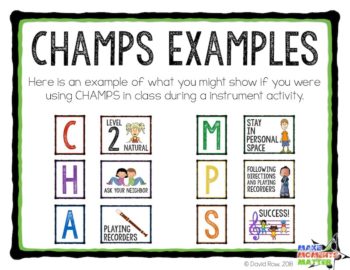
Examples of CHAMPS for Your Classroom
Some teachers like to print out all six CHAMPS directions on one big piece of poster board and then switch out those big posters every time they have a new activity. I like having individual posters for each part of the CHAMPS so that if I transition from one activity to the next and only need to change the A (activity) and not the movement, help, etc. That means that I can change out one poster instead of changing everything. Keeping all the different parts as separates also means that I have a little more versatility when it comes to mapping out my activities.
I printed off these posters one to a page and then laminated and cut them out so that I can use each one over and over again. I put magnets on the back of each page so that now I can put these up on my whiteboard and change them out easily. If you’d like to see some examples of how I use them for my classroom check out this video where I explain the system and give examples of which posters I’d use for different situations.
I have over 75 different posters included in this resource and I’m always open to adding more. I have tried to add options for every music education activity that I could think of but if you come up with a few more let me know and I’ll add them to the set. Click here to see all the resources that are included.


13 Comments