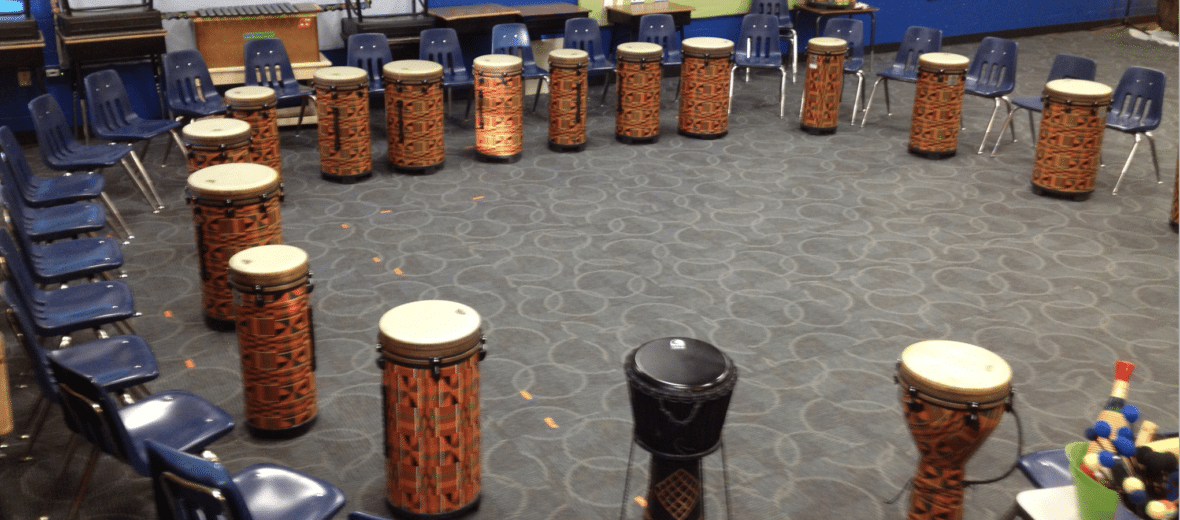
Tubano Tidbits: Ideas from a Drum Circle
Teaching drums to my kids is one of my favorite things to do! They can’t get enough of the drums and see it as a special treat. I love it because I can sneak in SO much content and so many concepts and the kids just think that they’re banging away the whole time. Surprise kids! You’re learning! I told my student teacher that it was like that cookbook that Jessica Seinfeld put out a few years ago called “Deceptively Delicious,” where she sneaks pureed cauliflower in mac and cheese and kale in spaghetti and meatballs. We’re giving them really great content and experiences and they love it because they are just having so much fun! This year as I was going along I stopped to take some pictures and jot down a few ideas. I just wanted to share a couple of those here.
When I first started teaching drums I had really no idea what I was doing or what I could do to make things better. In my district there are two sets of “the world drums” that travel around from school to school. We just don’t have the budget for each school to have a full set. So, when I do get the drums I try and make the most of it. We only have them for about two weeks at a time and I love to schedule them for the first two weeks back from winter break. It’s a great activity to get kids back in the swing and excited about making music again. It’s also great because kids are a little sluggish after the break and it takes them a little bit to readjust. The drums act like a shot of adrenaline to get them going and keep them excited.
So, here are some ideas. Click on the image to enlarge and get a better view!
Classroom Setup — Formation Matters!
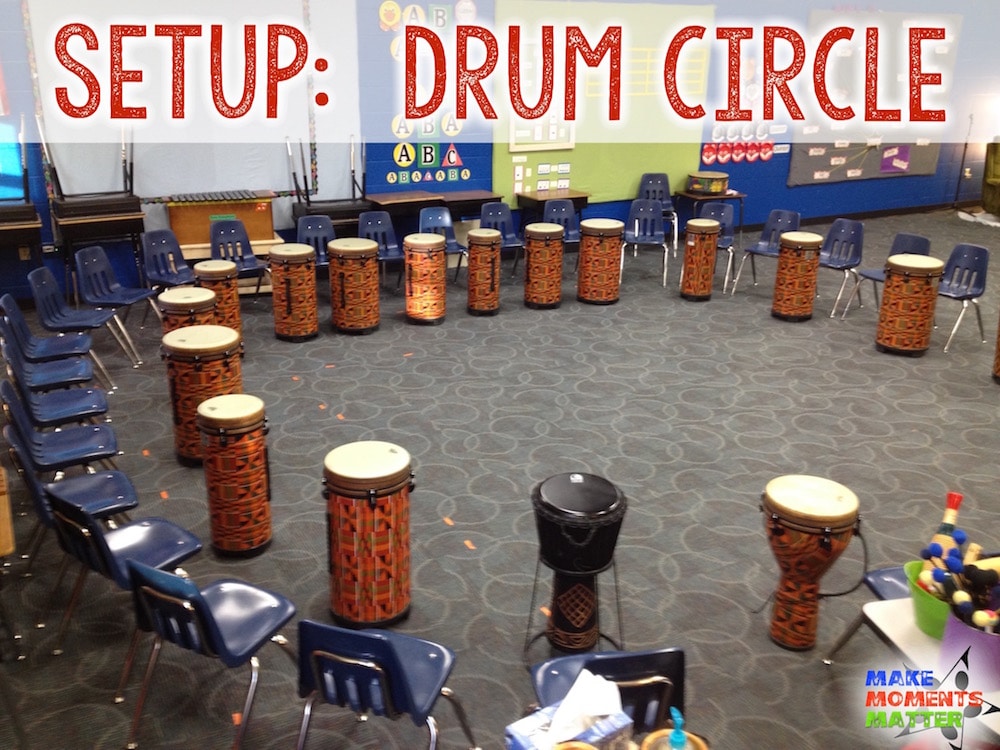 After a day or two of that, when I am confident that they know the different hand positions and how to sit and how to echo and listen, then I switch to a setup that’s more like the traditional drum circle. Now I sit at a djembe at a place in the circle where I can see all of them but they are on the same plane as me. This shifts the power and balance in the room. Now I’m not “in charge” but a part of the group. This is when I switch to activities that are less driven by me. Instead of doing echoes and activities where I come up with content we do Question/Answer, student improvisation, and group drumming. We learn songs where all the kids can improvise and elaborate a little bit. This change of space helps to change their mindset of who is in charge and puts a little more of the power into their hands. We’re creating as a group and they need to be an active part of that. It’s so interesting how a formation change can really affect the mood of the class.
Speaking of formation, the Remo 100 series drums come in 3 basic sizes 10″, 12″ and 14″. I try and set them up so that the drums alternate in size. The might be set up in a row like this: 10″, 12″, 14″, 12″, djembe, 12″ etc. This mimics the setup that Artie Almeida uses in her “Mallet Madness” books. When they’re set like this I can have kids rotate one chair and they’re immediately at a different drum and have to adjust what they do. Kids love rotating and they love the chance to try something new. Setting the drums up in an alternating fashion like this helps to make rotation so much more meaningful.
Demonstration and visuals
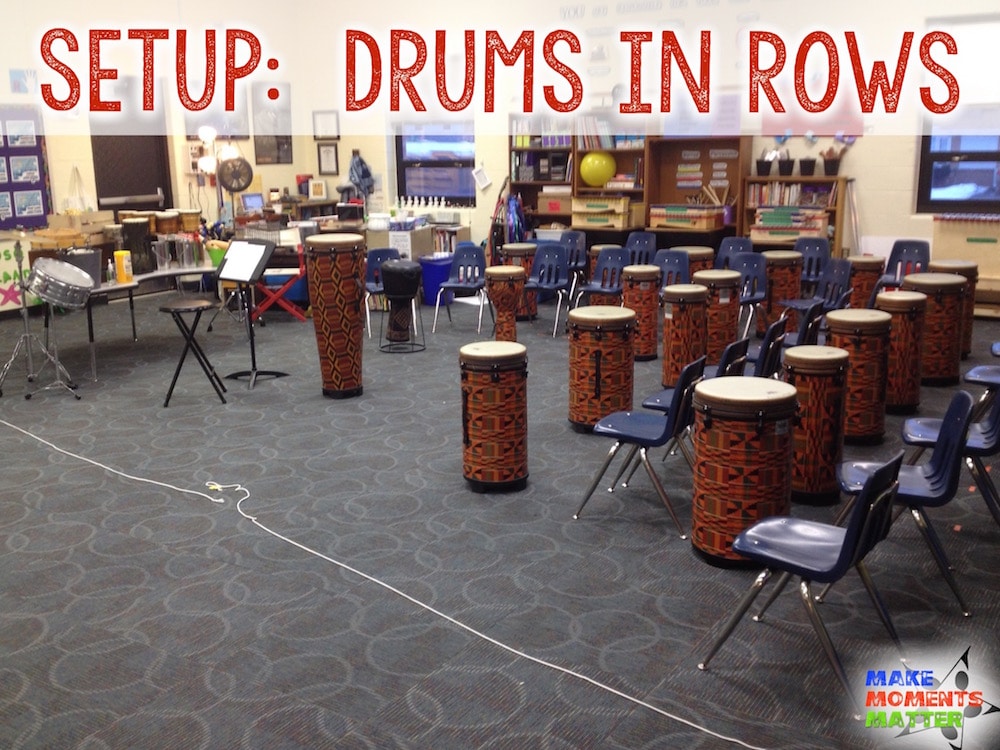 First of all, think of the setup and formation of the room. If you have the opportunity to move things around and try different formations then do! See how it affects your classroom and the learning environment. I usually start out with the drums in rows (for the first few days) so that I can see all the kids, their hand positions, and keep tabs on who is really following along. If I sit at the really tall drum in the front (it’s called an Ngoma and is really stinking tall) then I can see all the kids and they can definitely see me.
This is good for the first couple of days and the set-up mimics a classroom where they are sitting criss cross and I’m standing at the board. In that situation, because of the spacing and the levels in the classroom, I’m clearly the one with the power in the “teaching position.” Similarly when we’re set up with the drums in rows with my big demonstration drum at the front I am clearly the one in control and they are the ones learning. I’m at the front, I’m higher than them, I’m scanning the room to see their reactions. In this formation I usually do a lot of echo, ostinato, call and response, and checking for understanding. I make sure that I watch and clarify and make sure that they know the basic hand positions (so that they can apply that knowledge later).
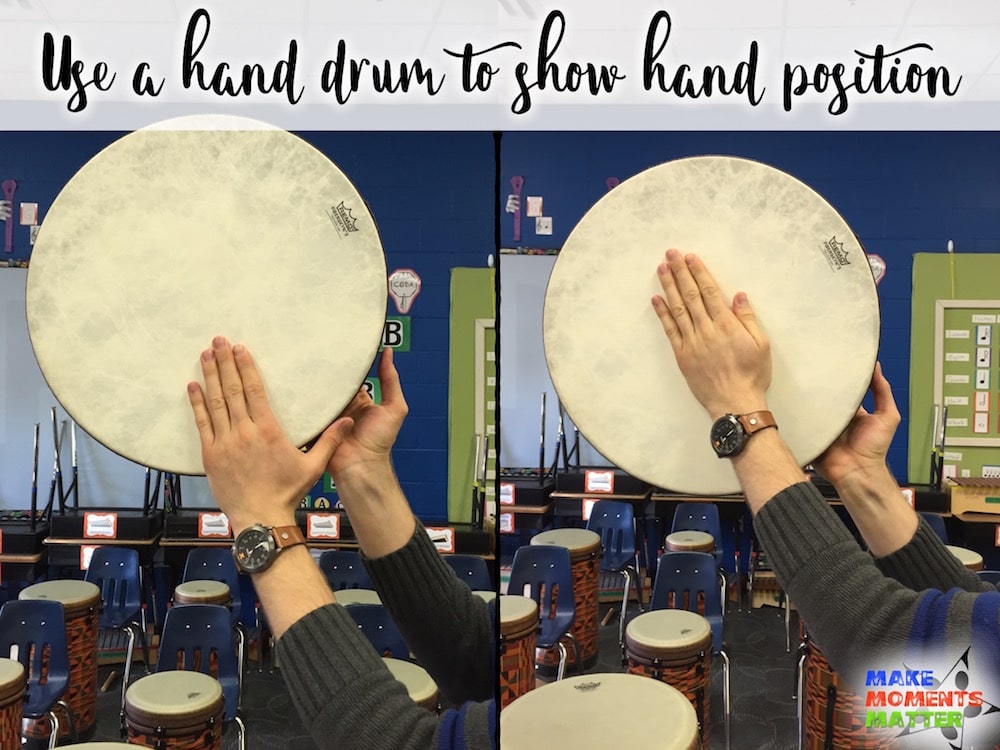 When I do teach hand positions on the drum I do so from that first setup in rows. When I’m up on the tall drum and kids are sitting in chars on the smaller drums I’m aware that it’s really hard for them to see where my hand is falling on the drumhead. Too often I think that we (as tall people) forget a student’s vantage point and how much they can see. We need to be aware and willing to move bulletin board content down and move examples down and put things on their level. In this instance I need to be aware that students down that low can’t really see my examples. If I’m going to get picky about how kids hit the drum (and I do) and where they hit it then I need to be able to show them. So, last year I got the idea that I could hold up a hand drum and show them hand placement on that drum. This makes it easy for them to see and clarifies much more than if I just used words. It’s like those xylophone display boards that show kids what the barred setup looks like. The visual makes a big difference. I hold up my drum, show them what it looks like on the drum, and then I have them mimic on the drum in front of them while I check for understanding.
This reminds me, less words and more visuals. Don’t tell them, just show them. I start out my drum circle classes by getting students on the drums and then using ONLY nonverbal directions to show them what I want. I snap to get attention. I scan the room to make sure they’re all watching I stomp my feet on the floor to show them the place where their feet should be. I hold up my hands and show them what my hand looks like when it’s going to hit the drum. I point to myself and give an example and then point to them with an “echo me” expression. Take out words and try just using nonverbal communication. It’s fun for you and fun for them and speeds up the process.
Stay clean — stay healthy!
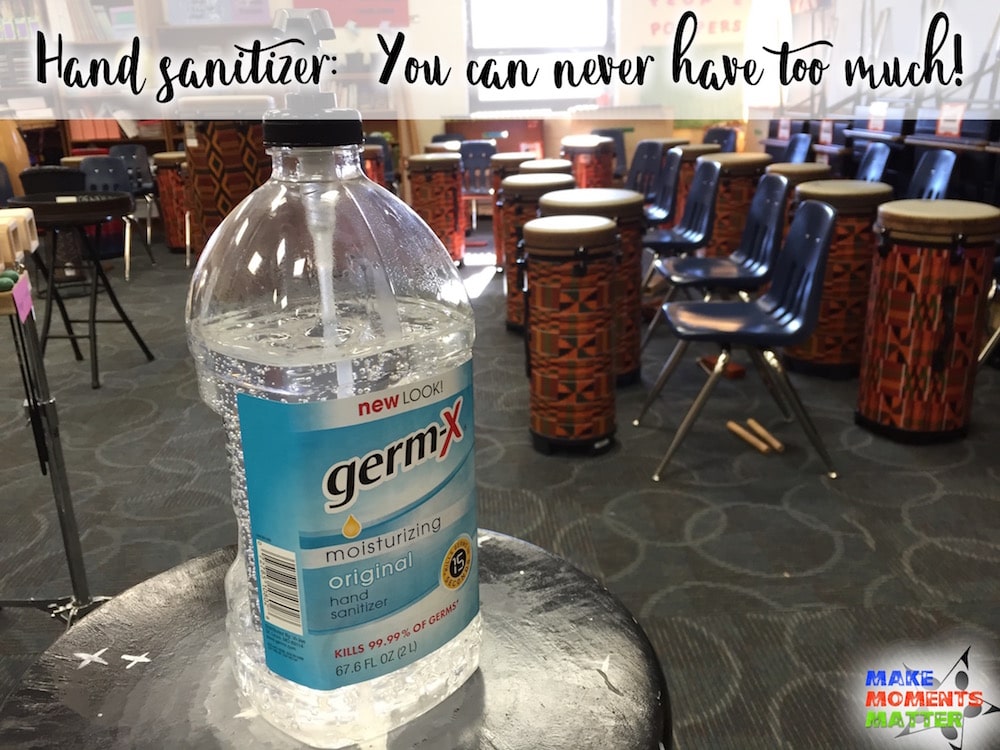 I’m keenly aware that when I schedule drums right after winter break that I’m doing so in the middle of cold and flu season. How do you keep germs from spreading when you have 500 kids who are all touching the same drums? I do a lot of disinfecting. I try and wipe down the drums with lysol wipes whenever I can. If I had real drums with natural drumheads I might not do this so often but with the synthetic drum heads I don’t feel bad at all. In fact the West Music website says “The synthetic head and acousticon body are easily cleaned—you can even use a regular antibacterial wipe on them.” Bam! So I do!
 I also send out an all-school email telling all the teachers that EVERYONE will be drumming for a few weeks. In that email I say very nicely, “It will be loud. Thank you for being patient and thank the architects of this building for putting in soundproofing and putting the music room on the end of the building. Also, if you can run your kids by the bathroom and make sure that they ALL wash hands that would be great and will help to cut down on the spread of germs.” Many teachers actually take this advice and make sure that their kids wash hands. Just in case… I buy this huge jug of hand sanitizer from Costco. I think that I got all of this for $6.99. As far as I’m concerned, that’s money well spent. All kids have to have one squirt of hand sanitizer before they even get close to a drum. 😀
Give yourself options!
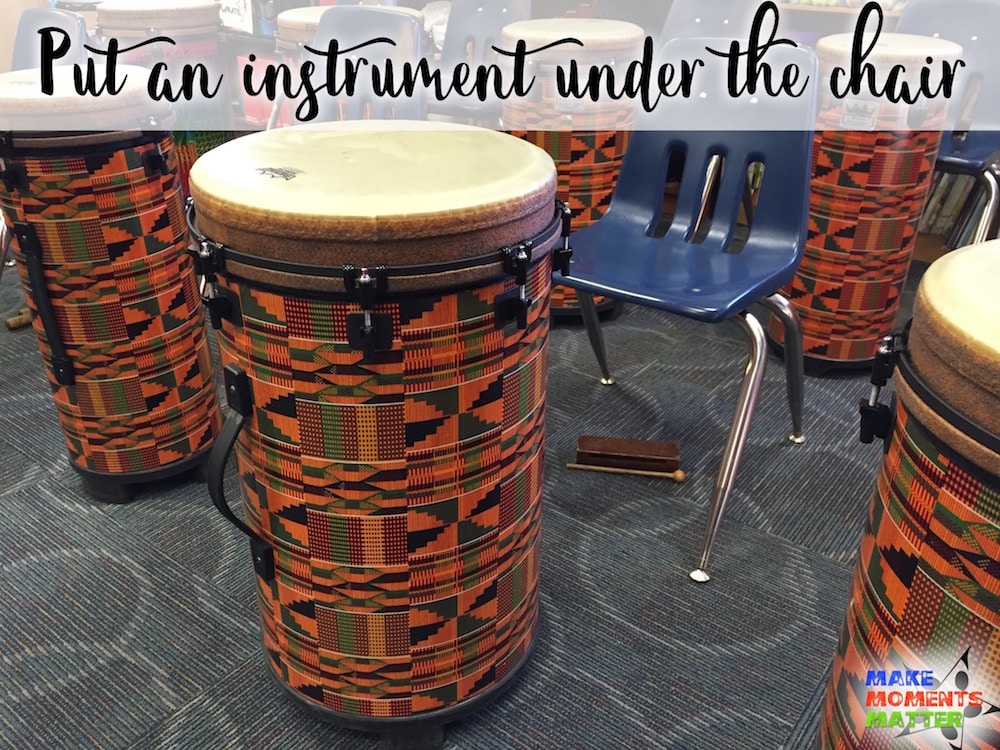 Finally, I like having options. When we’re working on ensemble stuff together and making fun patterns I want the option to add or create variations. I’m down to 25 minute classes this year (not nearly enough as far as I’m concerned) and so if I had to stop and get out instruments and pass them out it would take too much time. Instead I put a variety of non-pitched instruments under each chair. I try and vary this so that in a row you would have one chair with a wood block, the next would have claves, the next a tone block, the next a pair of maracas, and so on. That way we have variety and lots of different opportunities.
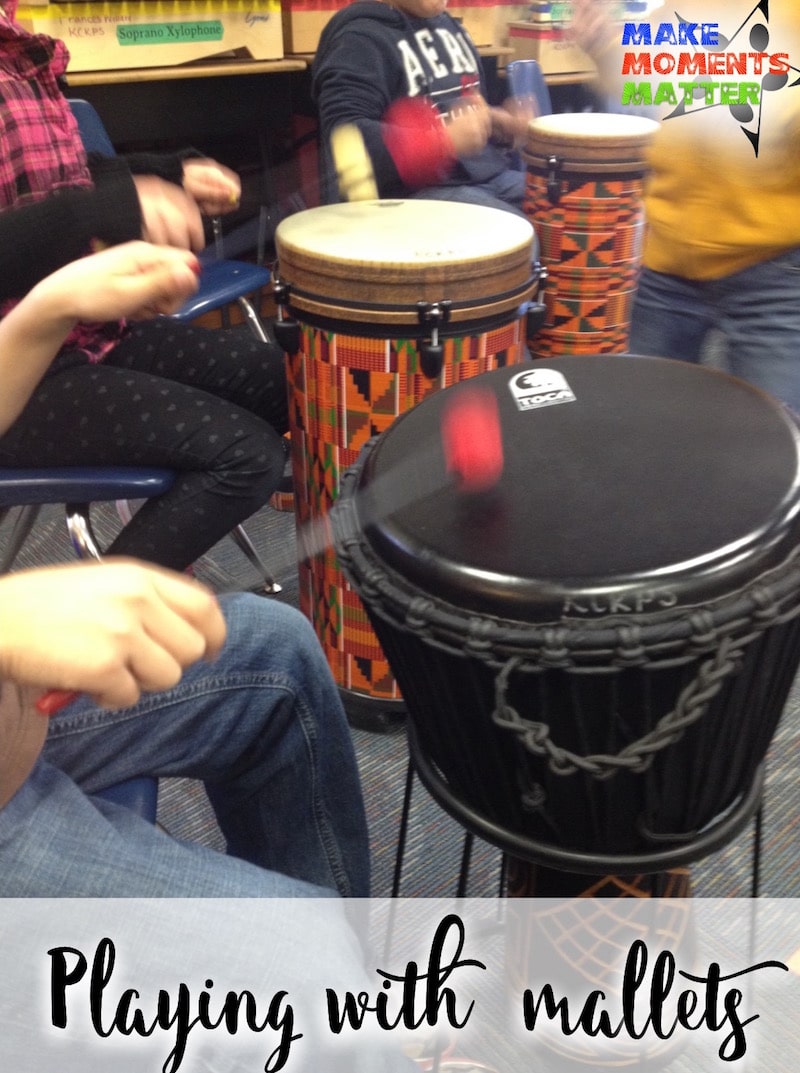 Also, I like having my xylophone mallets handy just in case I want to use them with the drums. It’s really fun to play with soft mallets on the drum heads and makes it a lot easier to play more complex and fast rhythms. This also allows for fun activities if you want kids to stand and walk from drum to drum and play. It gives you another tool in your toolkit to mix things up and kids LOVE it!
I have so much fun teaching with drums! I hope that this post gave you a few ideas for how to set your classroom and some things you can do to make the flow of teaching a drum unit a little easier. I’d love your suggestions and comments on what other things I can do to make drumming more fun and productive. There’s always more to learn!



6 Comments